We advise creating a new Snowflake user and grant the suggested access required to create tables and views your Production database.
Create a new Snowflake user
You can execute the SQL commands below in Snowflake and create a user with the suggested access credentials.Suggested Permissions
This set of permissions will enable Paradime to read from and create tables and views when running production jobs in you Snowflake database.Add Scheduler Connection
To add the Snowflake Scheduler connection, follow these instructions:- Click Settings in the top menu bar of the Paradime interface to access Account Settings
- In the left sidebar, click “Connections”
- Click “Add New” next to the Bolt Schedules section
- Select “Snowflake” and fill out the corresponding fields.
Using Username & Password
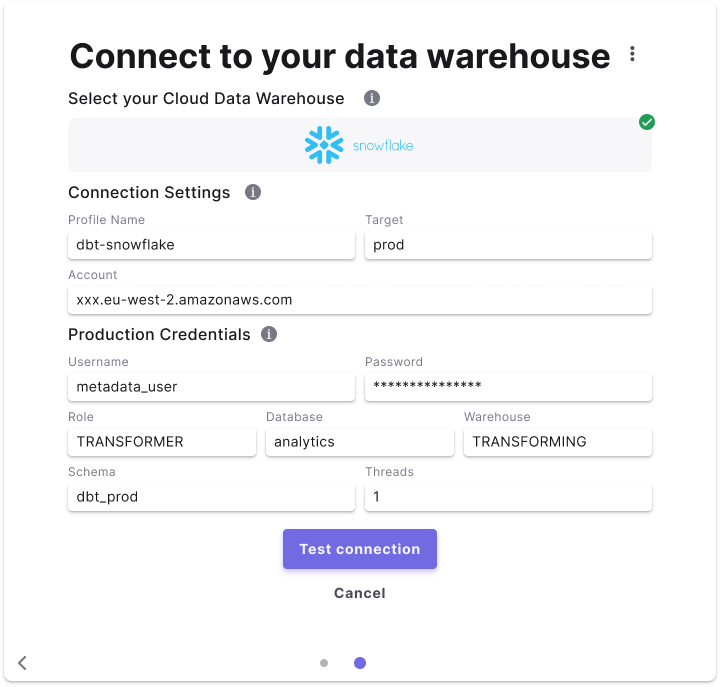
Fields Details
Below are list of fields and example to create a connection.Using Key-Pair authentication
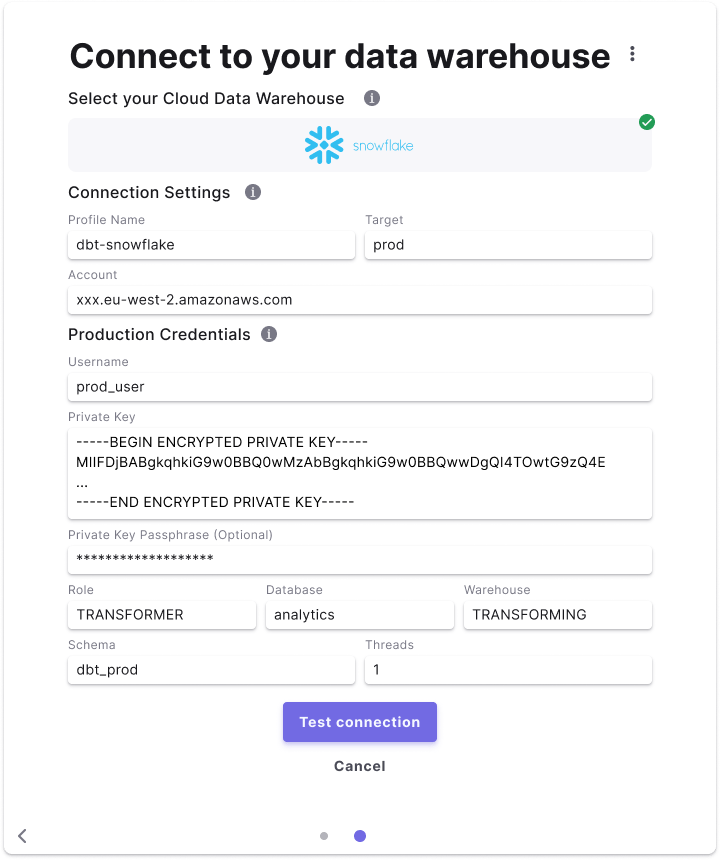
In Paradime you can use Key-Pair authentication method to connect your Scheduler environment using a Private Key and optionally a Private Key Passphrase. After generating an encrypted or unencrypted key pair, you will need to set thersa_public_key for the Snowflake user connecting to Paradime.