

Overview
In Paradime, pre-commit hooks are enforced in your CI pipeline, not on developer machines. You keep a.pre-commit-config.yaml at the root of your dbt™ repository, and a Turbo CI schedule runs the hooks against the files changed in each pull request using the Run pre-commit command, before running your dbt™ build.
Because enforcement happens in CI, every contributor gets the same checks with no local setup, and a failing hook blocks the pull request instead of silently slipping through.
Getting Started
-
Add a
.pre-commit-config.yamlat the root of your dbt™ repository with the hooks you want to enforce (see the example below). -
Add a Run pre-commit command to your Turbo CI schedule, before your dbt™ command, so only the files changed in the pull request are checked:
Lint and Test Code Changes On Pull Requests
Full Turbo CI template with a complete pre-commit configuration and schedule YAML.
Example configuration
Paradime’s standard recommended hooks cover:- SQL formatting and linting using SQLFluff
- dbt models checks using dbt-checkpoint
- YAML validation using Prettier
- General code quality checks
.pre-commit-config.yaml
Running checks on demand in the Code IDE
While Turbo CI is the enforcement point, you can run the same checks on demand from the Code IDE terminal to get feedback before you push. Pre-commit comes pre-installed, so run: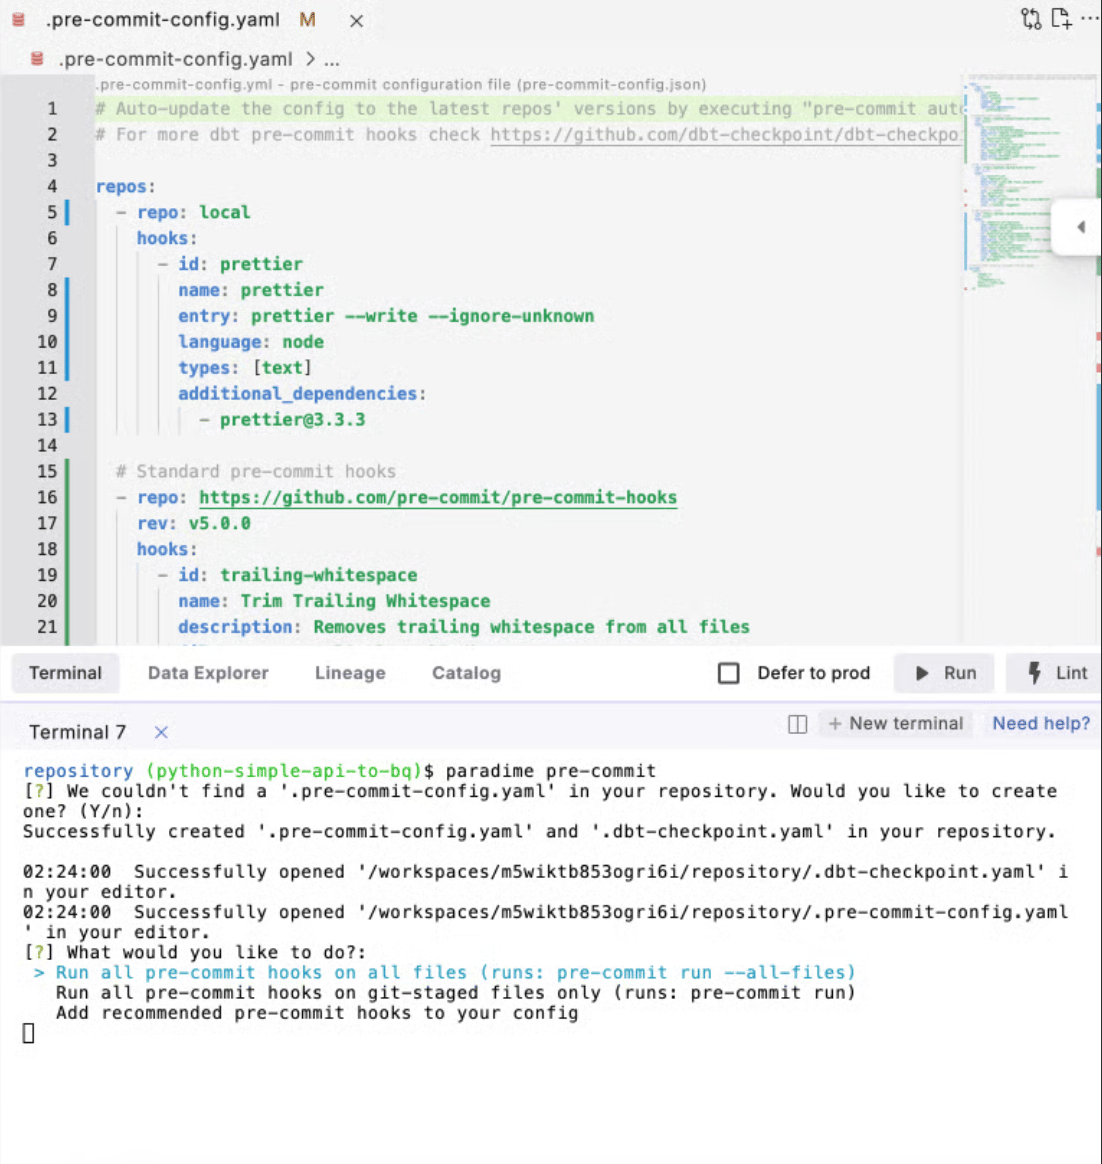
- All Files: Run checks on all files in your project
- Staged Files: Run checks only on files staged for commit
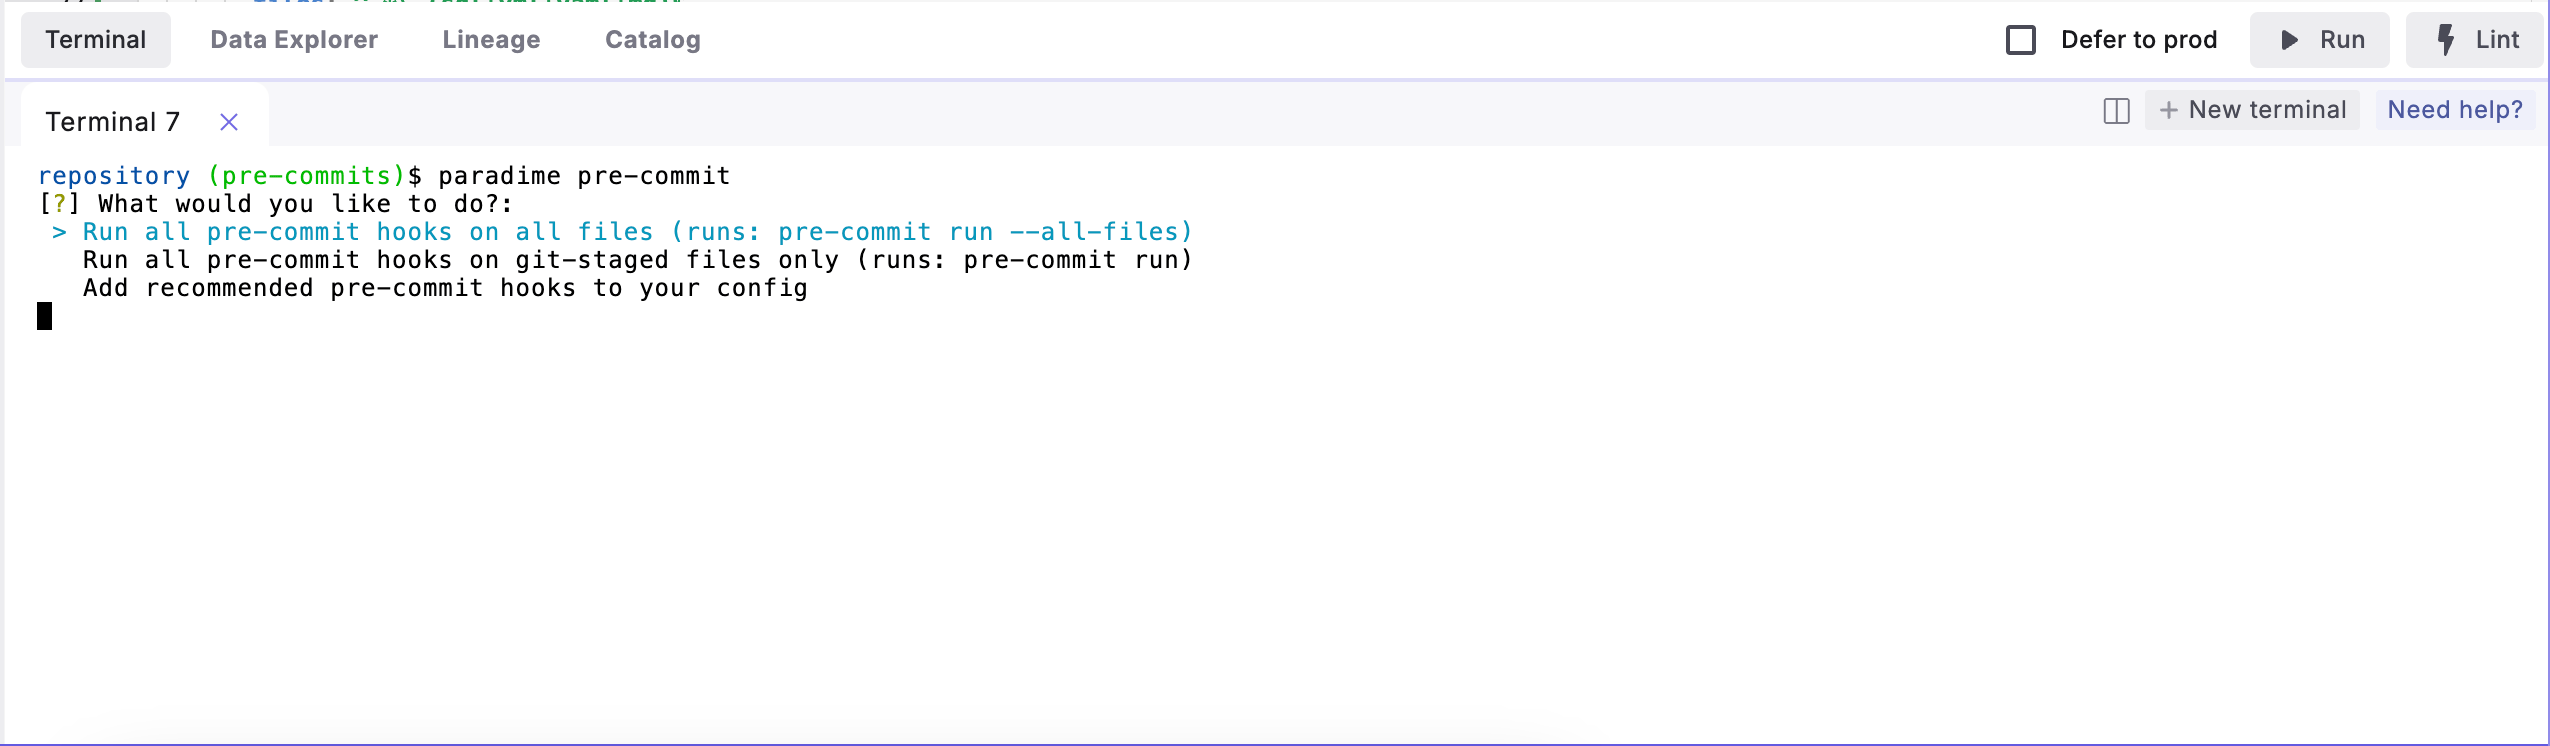
Note: When running pre-commits for the first time, Paradime will install all necessary hooks. This initial setup might take a minute to complete as it downloads and configures the required components.
Best Practices
- Start with Paradime’s recommended hooks
- Enforce hooks in your Turbo CI schedule so every pull request is checked the same way
- Run
paradime pre-commiton demand before pushing large changes - Keep hook configurations in version control
- Gradually customize configurations as needed
Common Workflows
- Check your changes before pushing
- Enforce hooks on pull requests
- Updating Hook Configurations
- Modify
.pre-commit-config.yaml - Auto-update the config to the latest repos’ versions by executing
pre-commit autoupdate - Commit the change; your Turbo CI schedule picks it up on the next pull request