Step 1 - Copy your MCP endpoint from Paradime
In Paradime, open Settings → MCP Access (direct link) and copy your MCP endpoint URL.Step 2 - Create a MCP Connection in Amazon Quick
Navigate to the Amazon Quick homepage and click on “Connectors” on the left panel.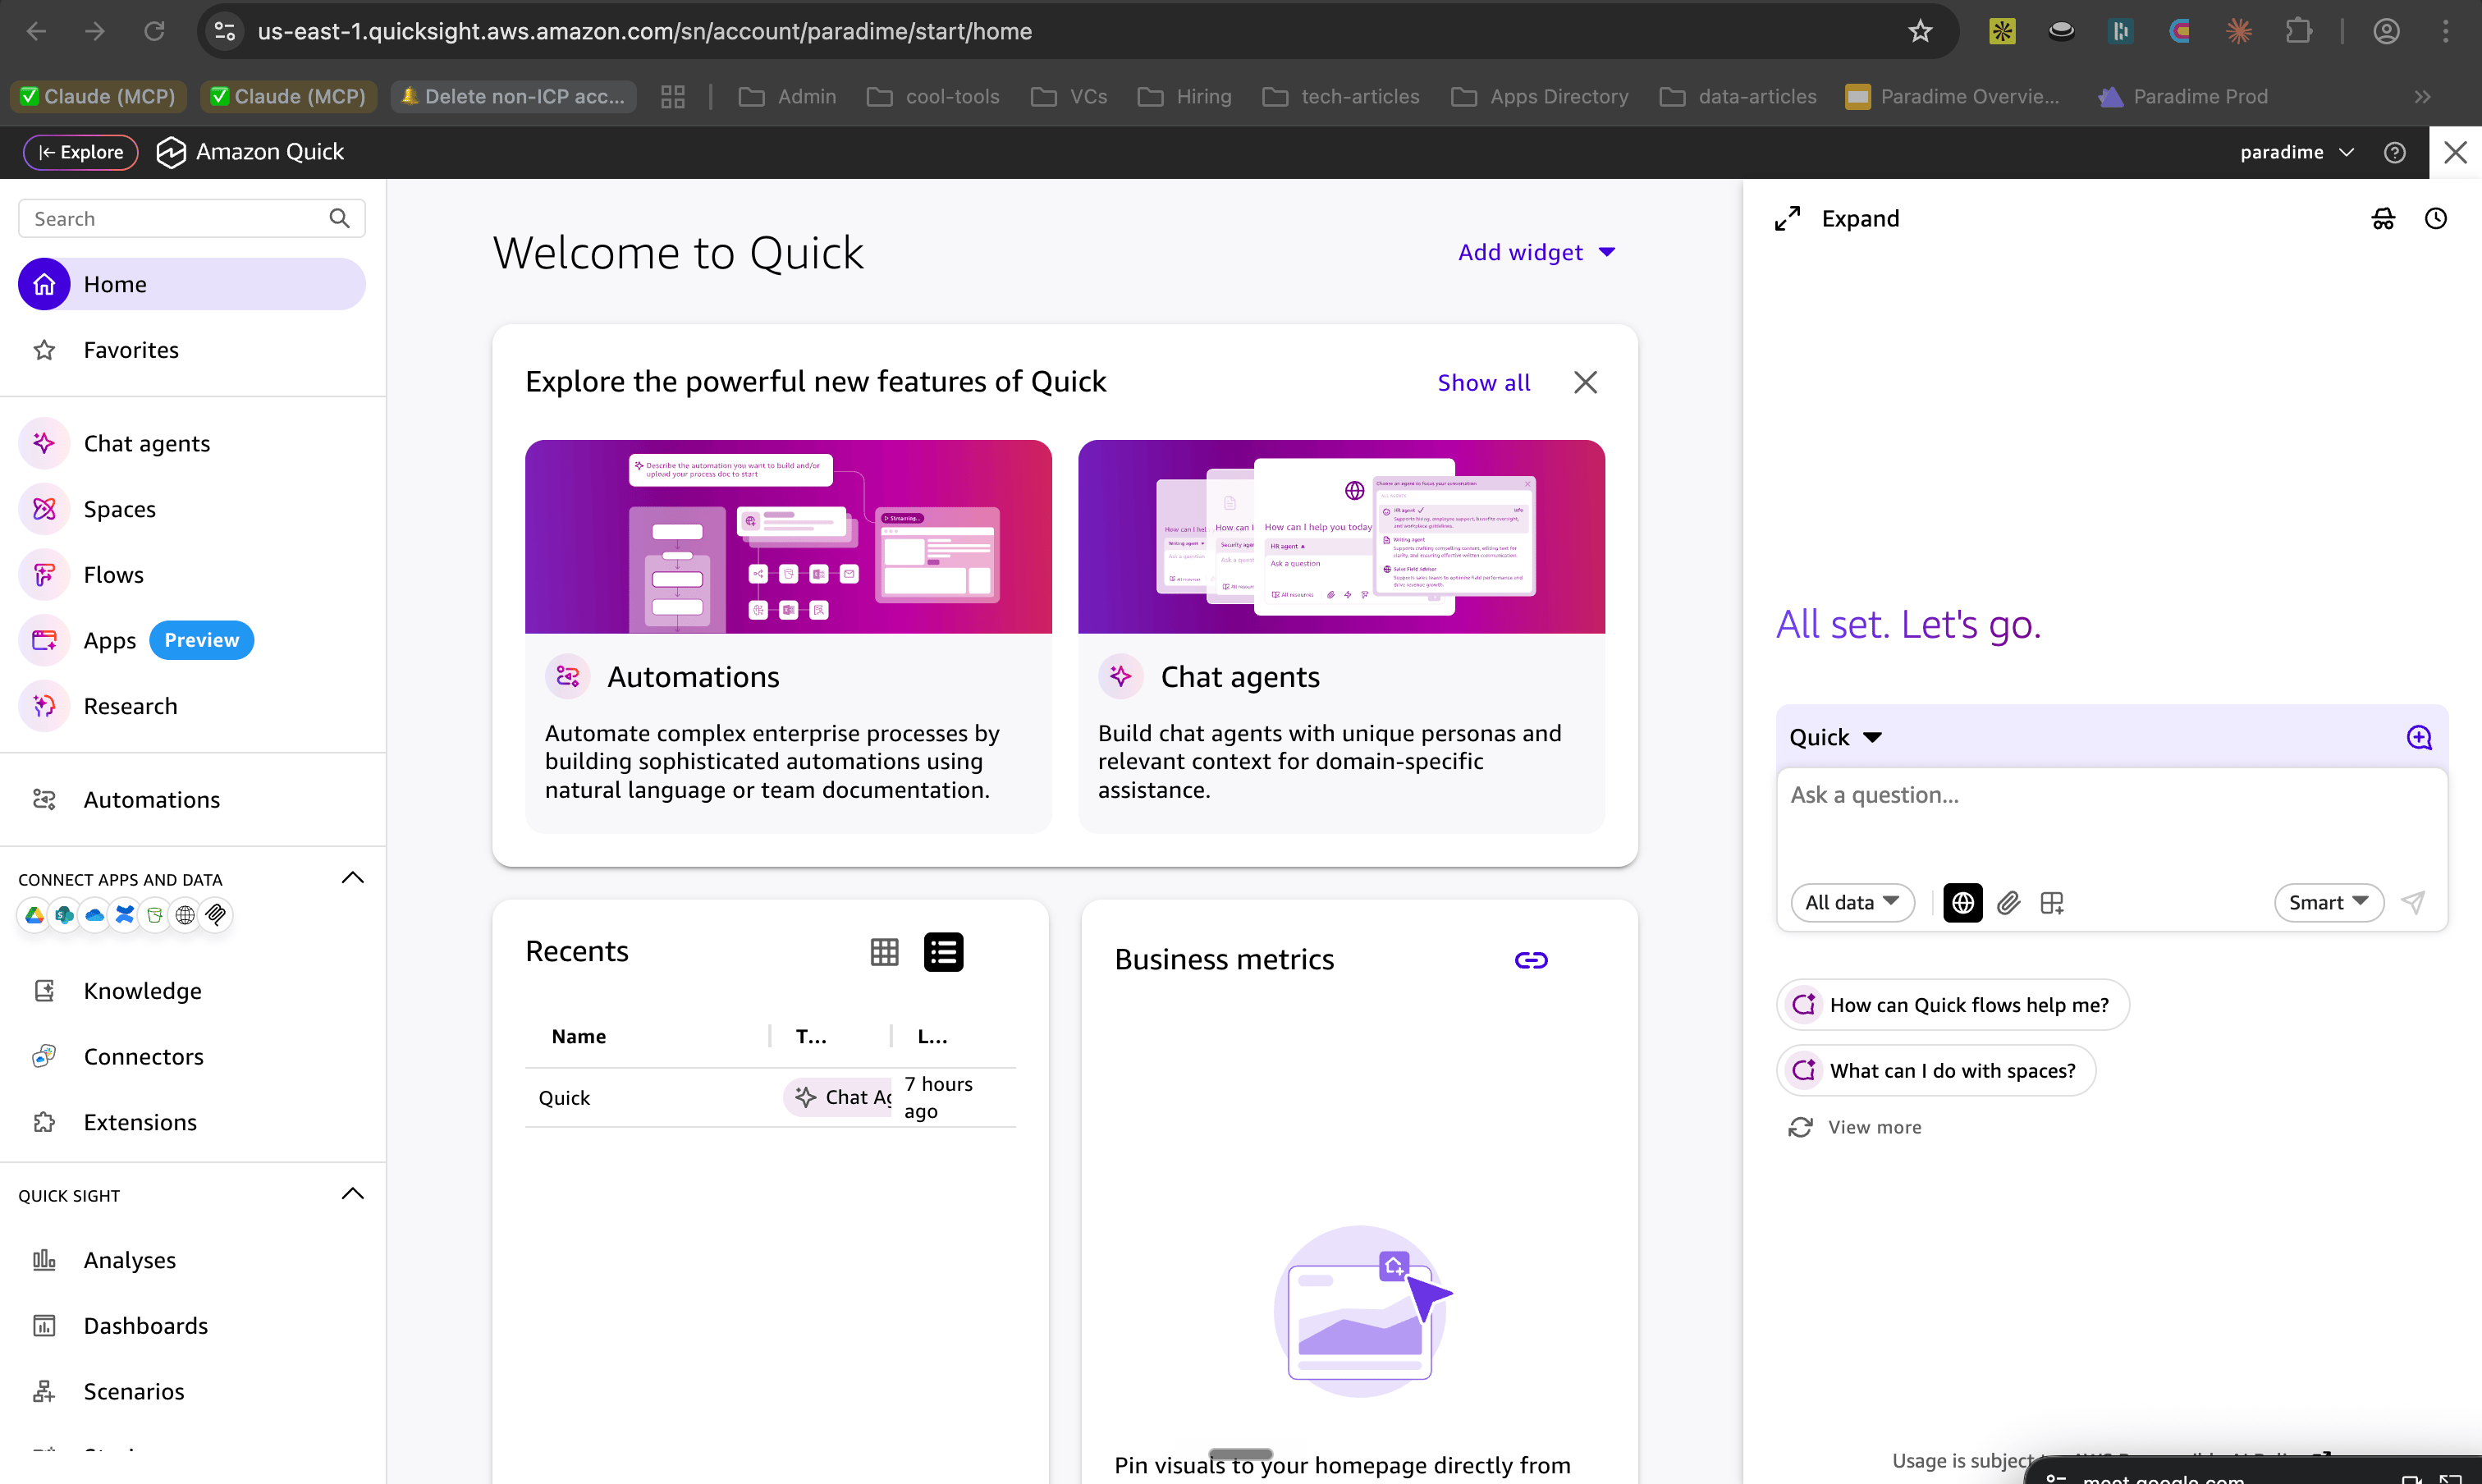
Step 3 - Create Model Context Protocol connector
Navigate to Connectors -> Create for your team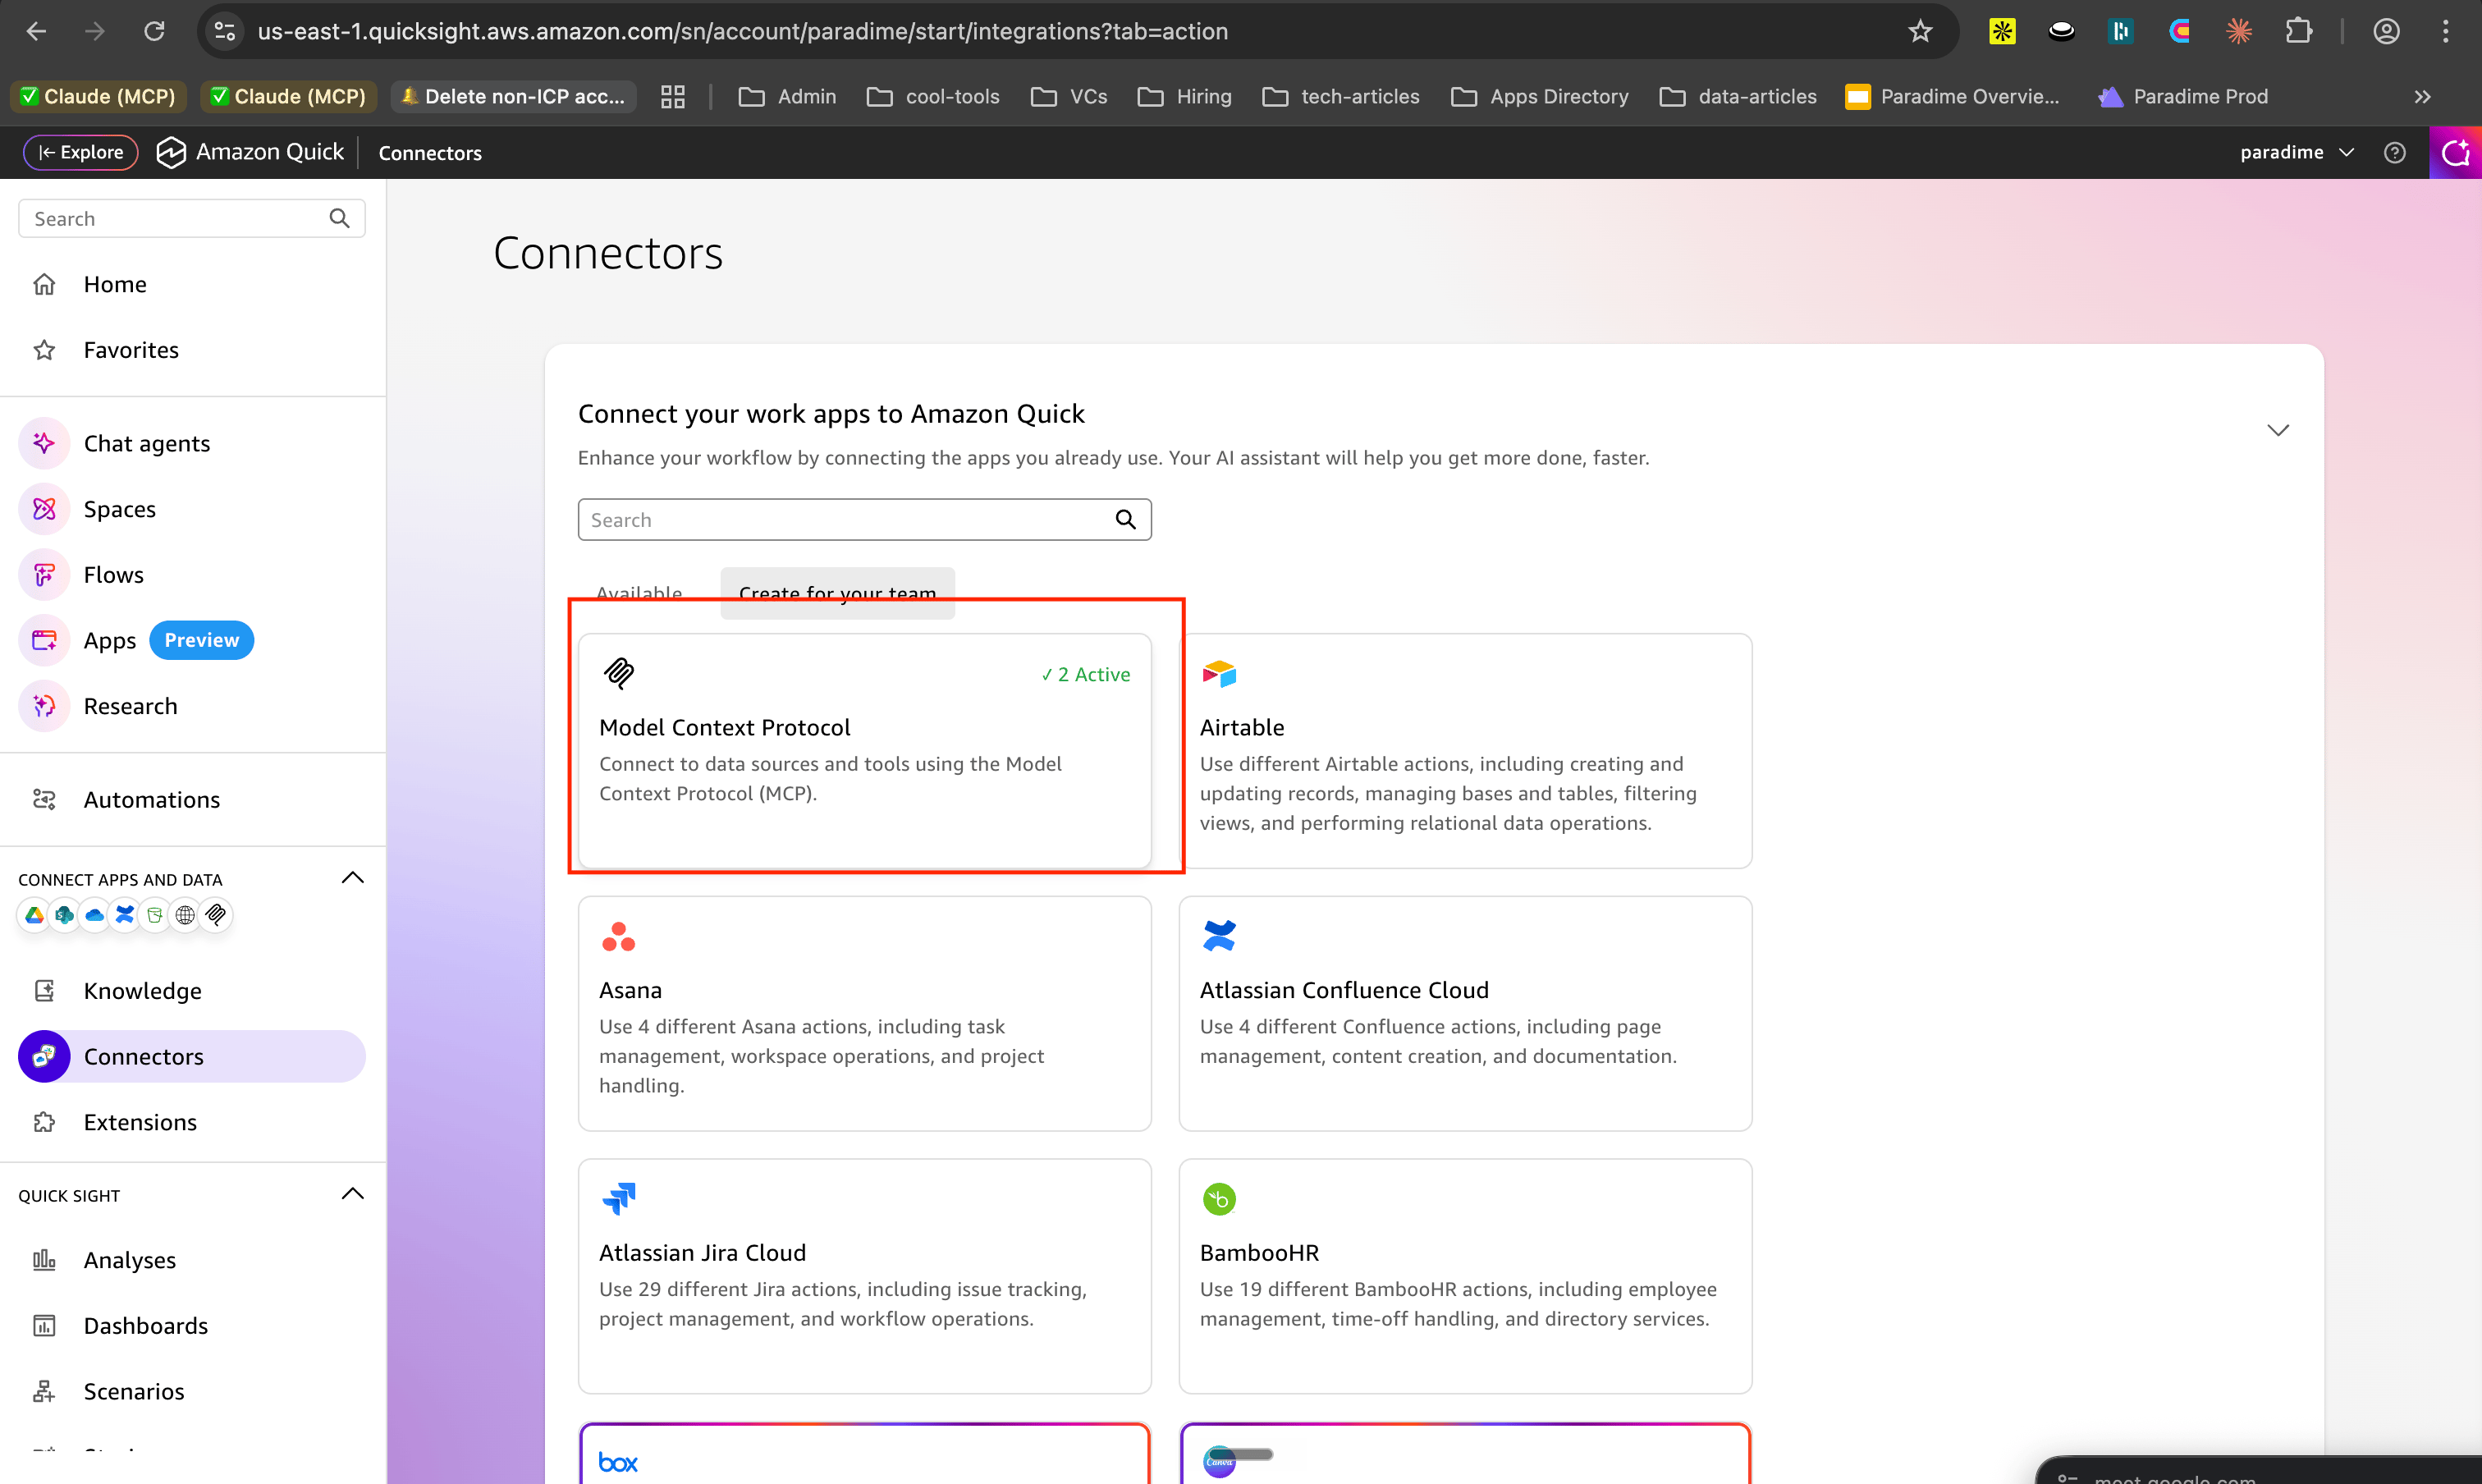
Step 4 - Setup a Paradime MCP
Enter a name for the MCP, and add the MCP endpoint url that we got from Step-1, and click Next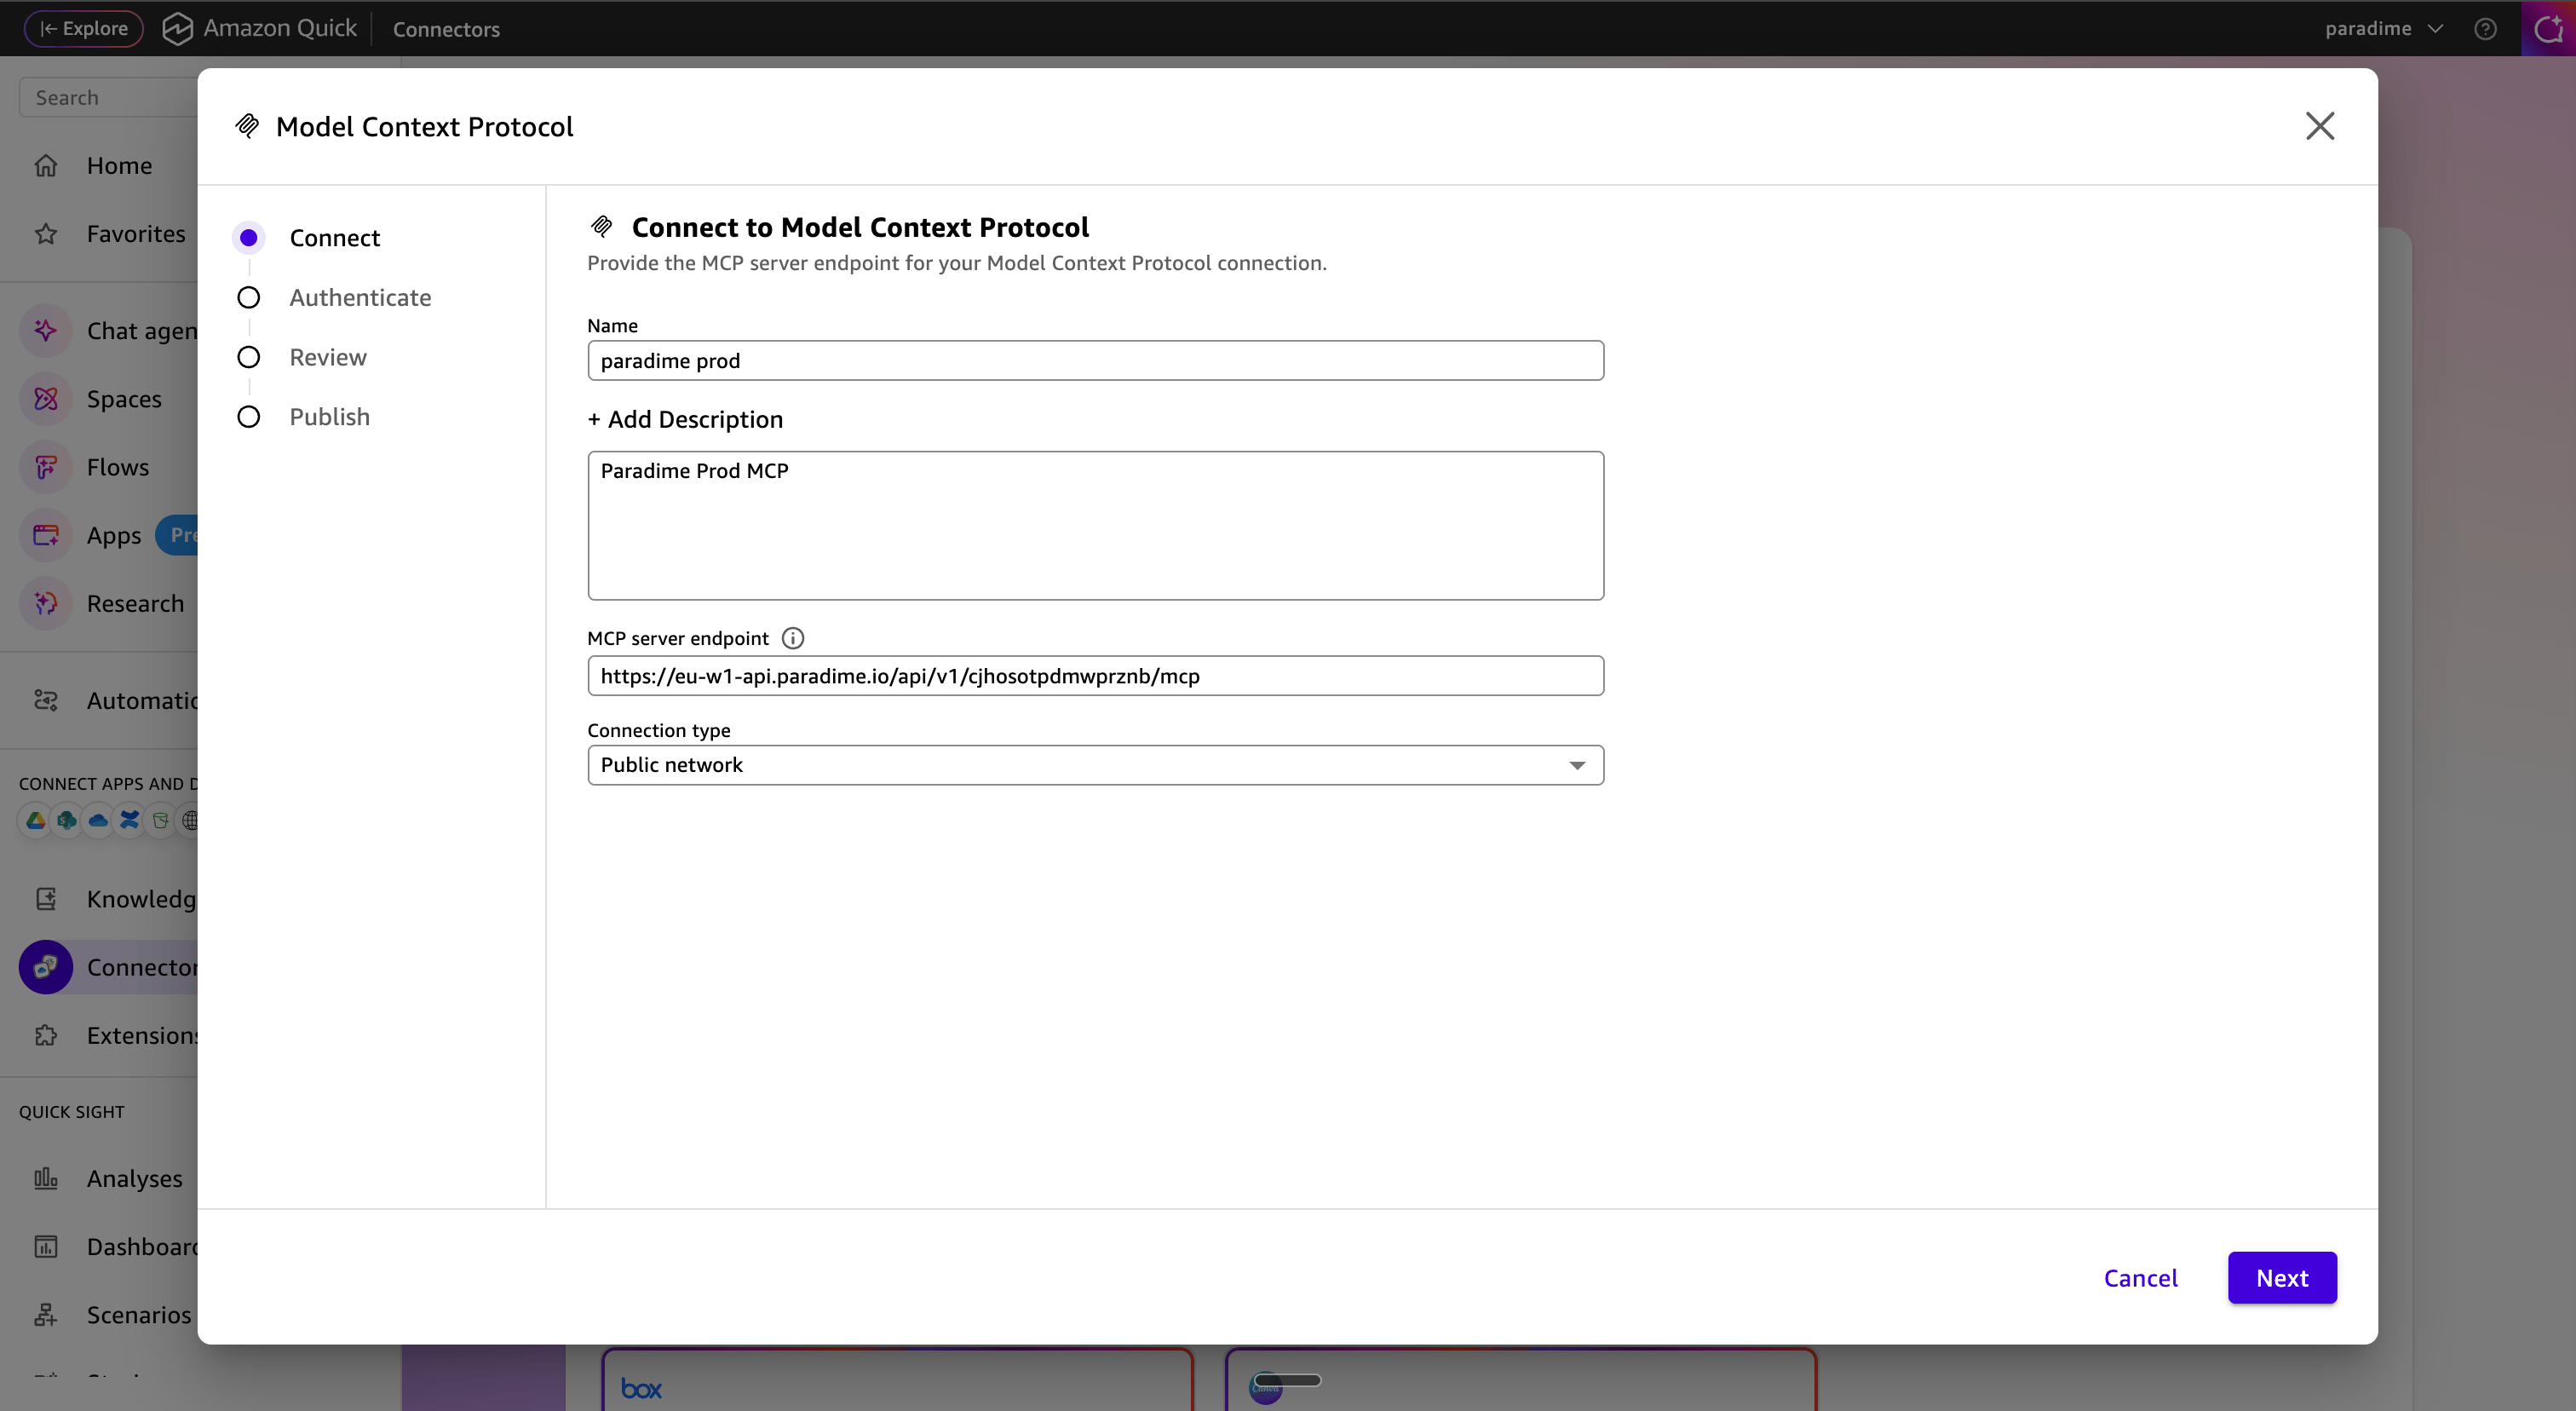
Step 5 - Add Authentication Details
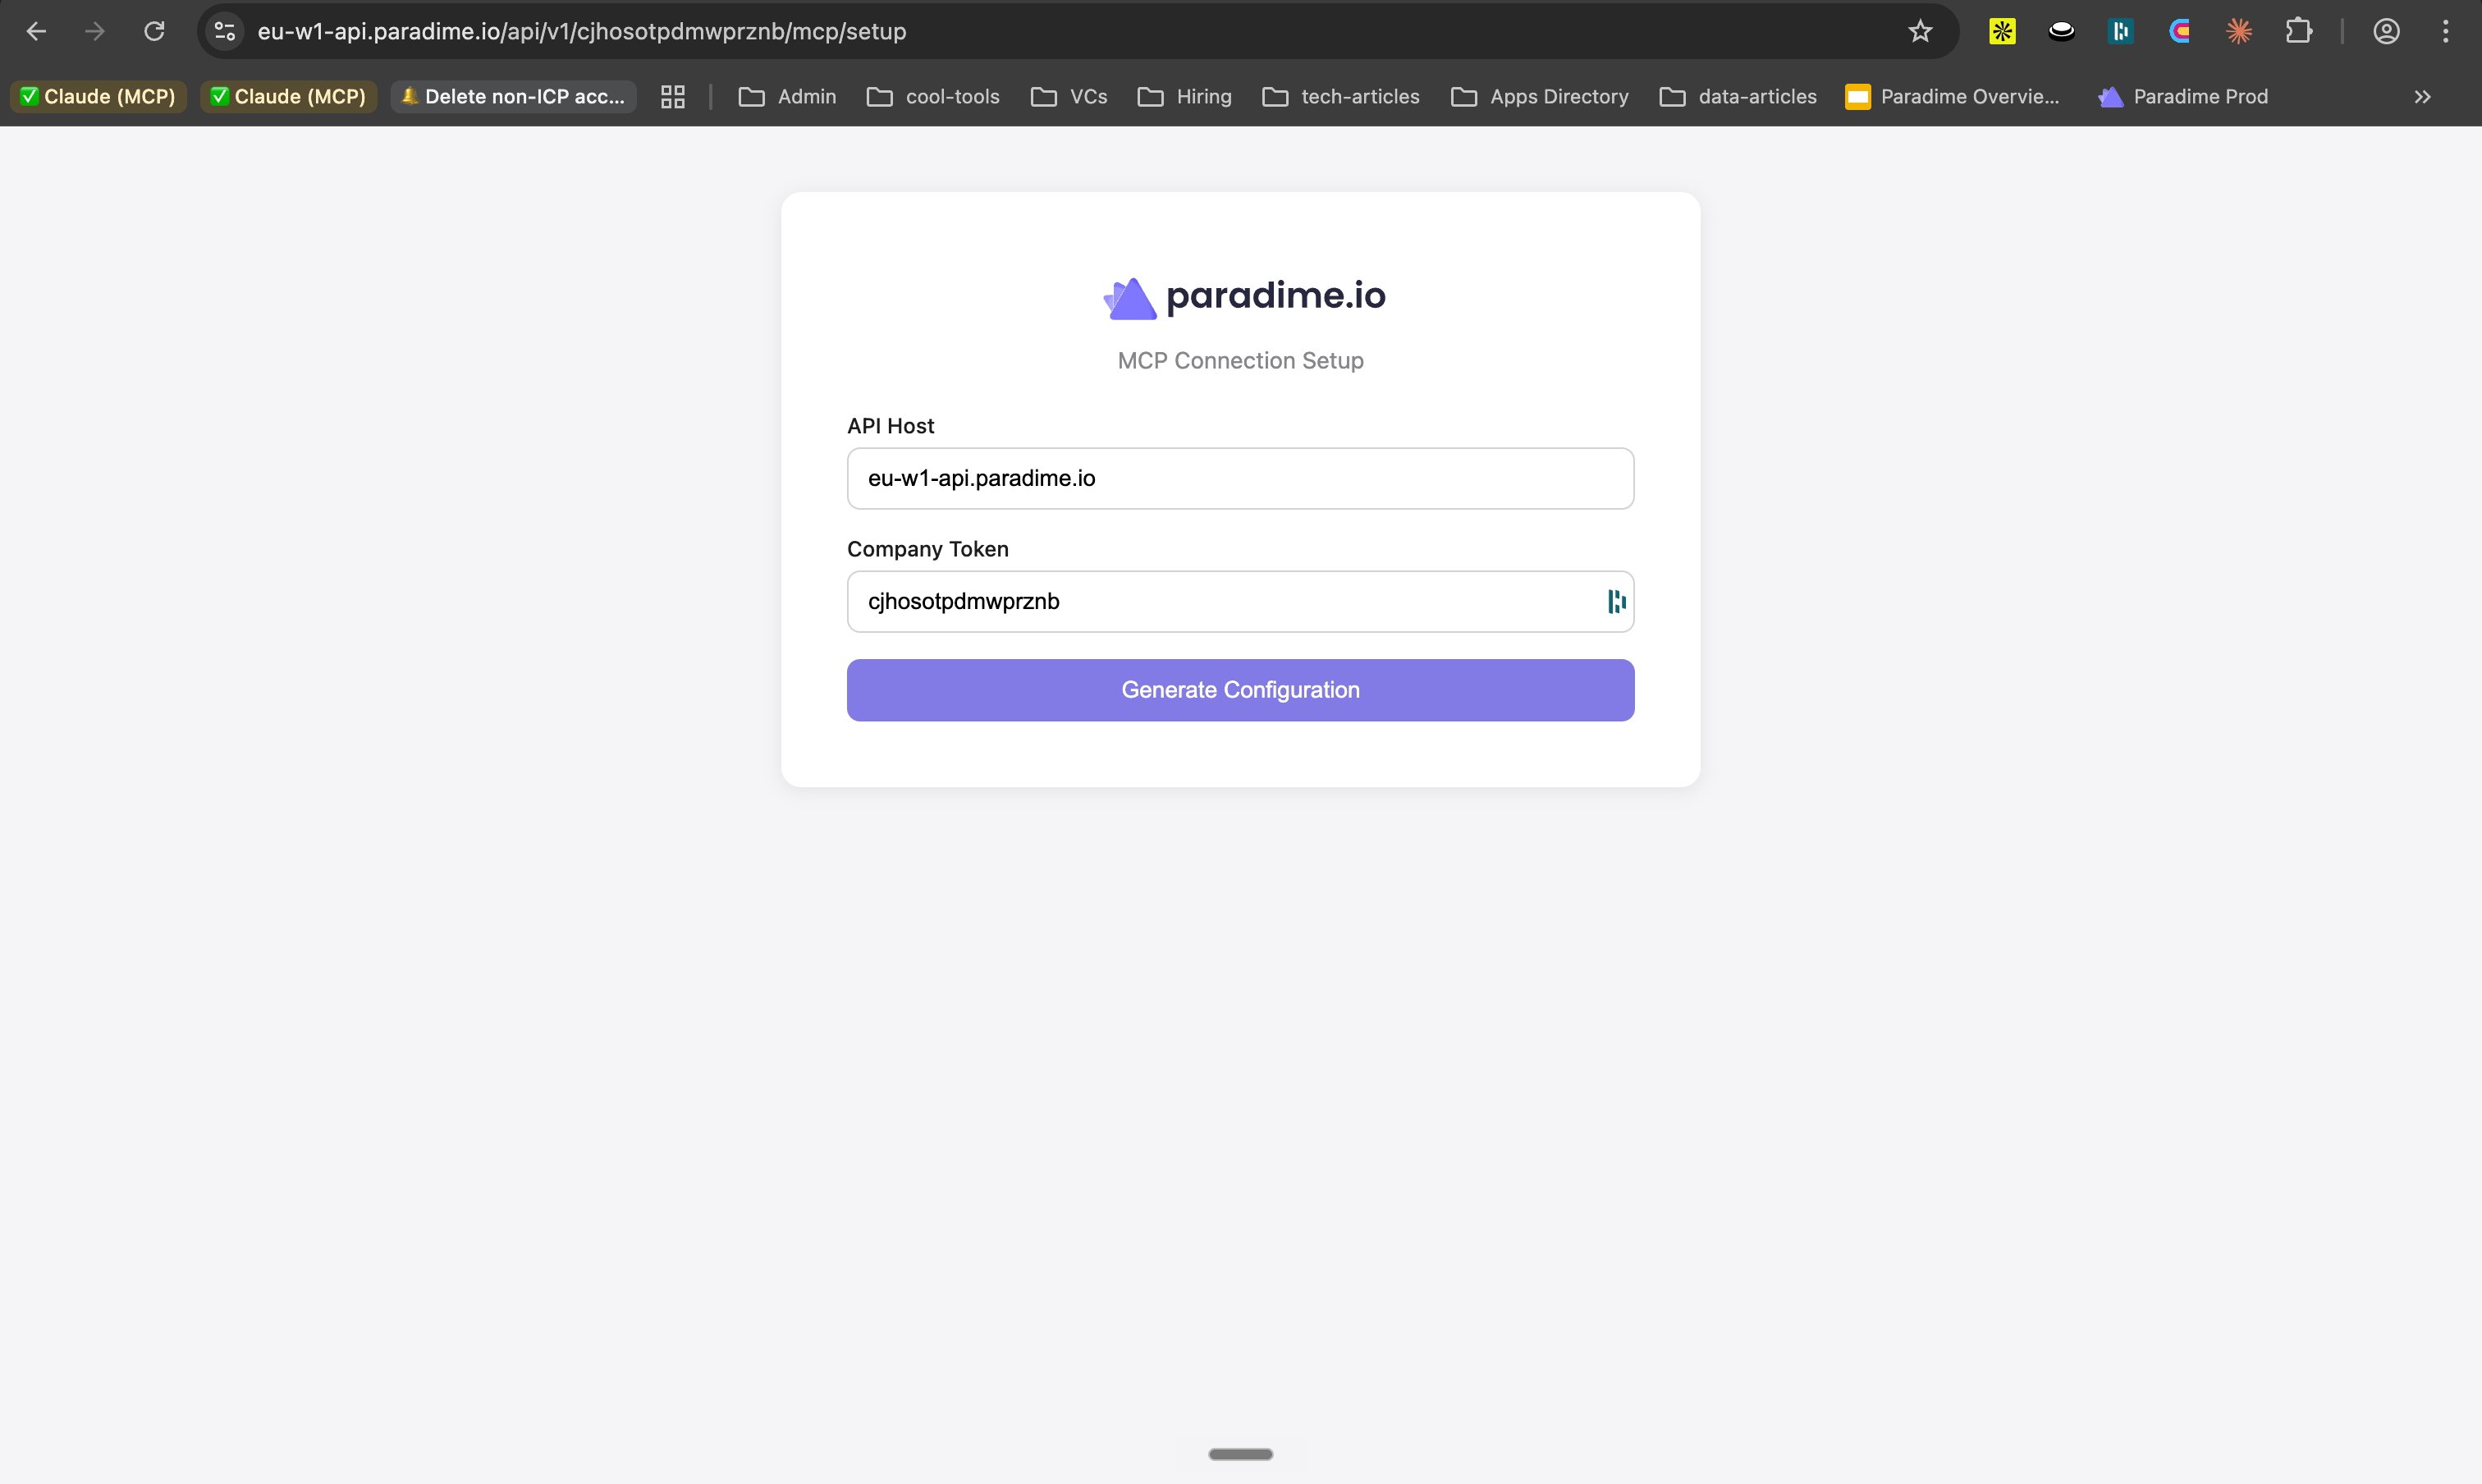
Visit the following URL to get your connection details:<mcp-endpoint-url>/setup and click Generate Configuration
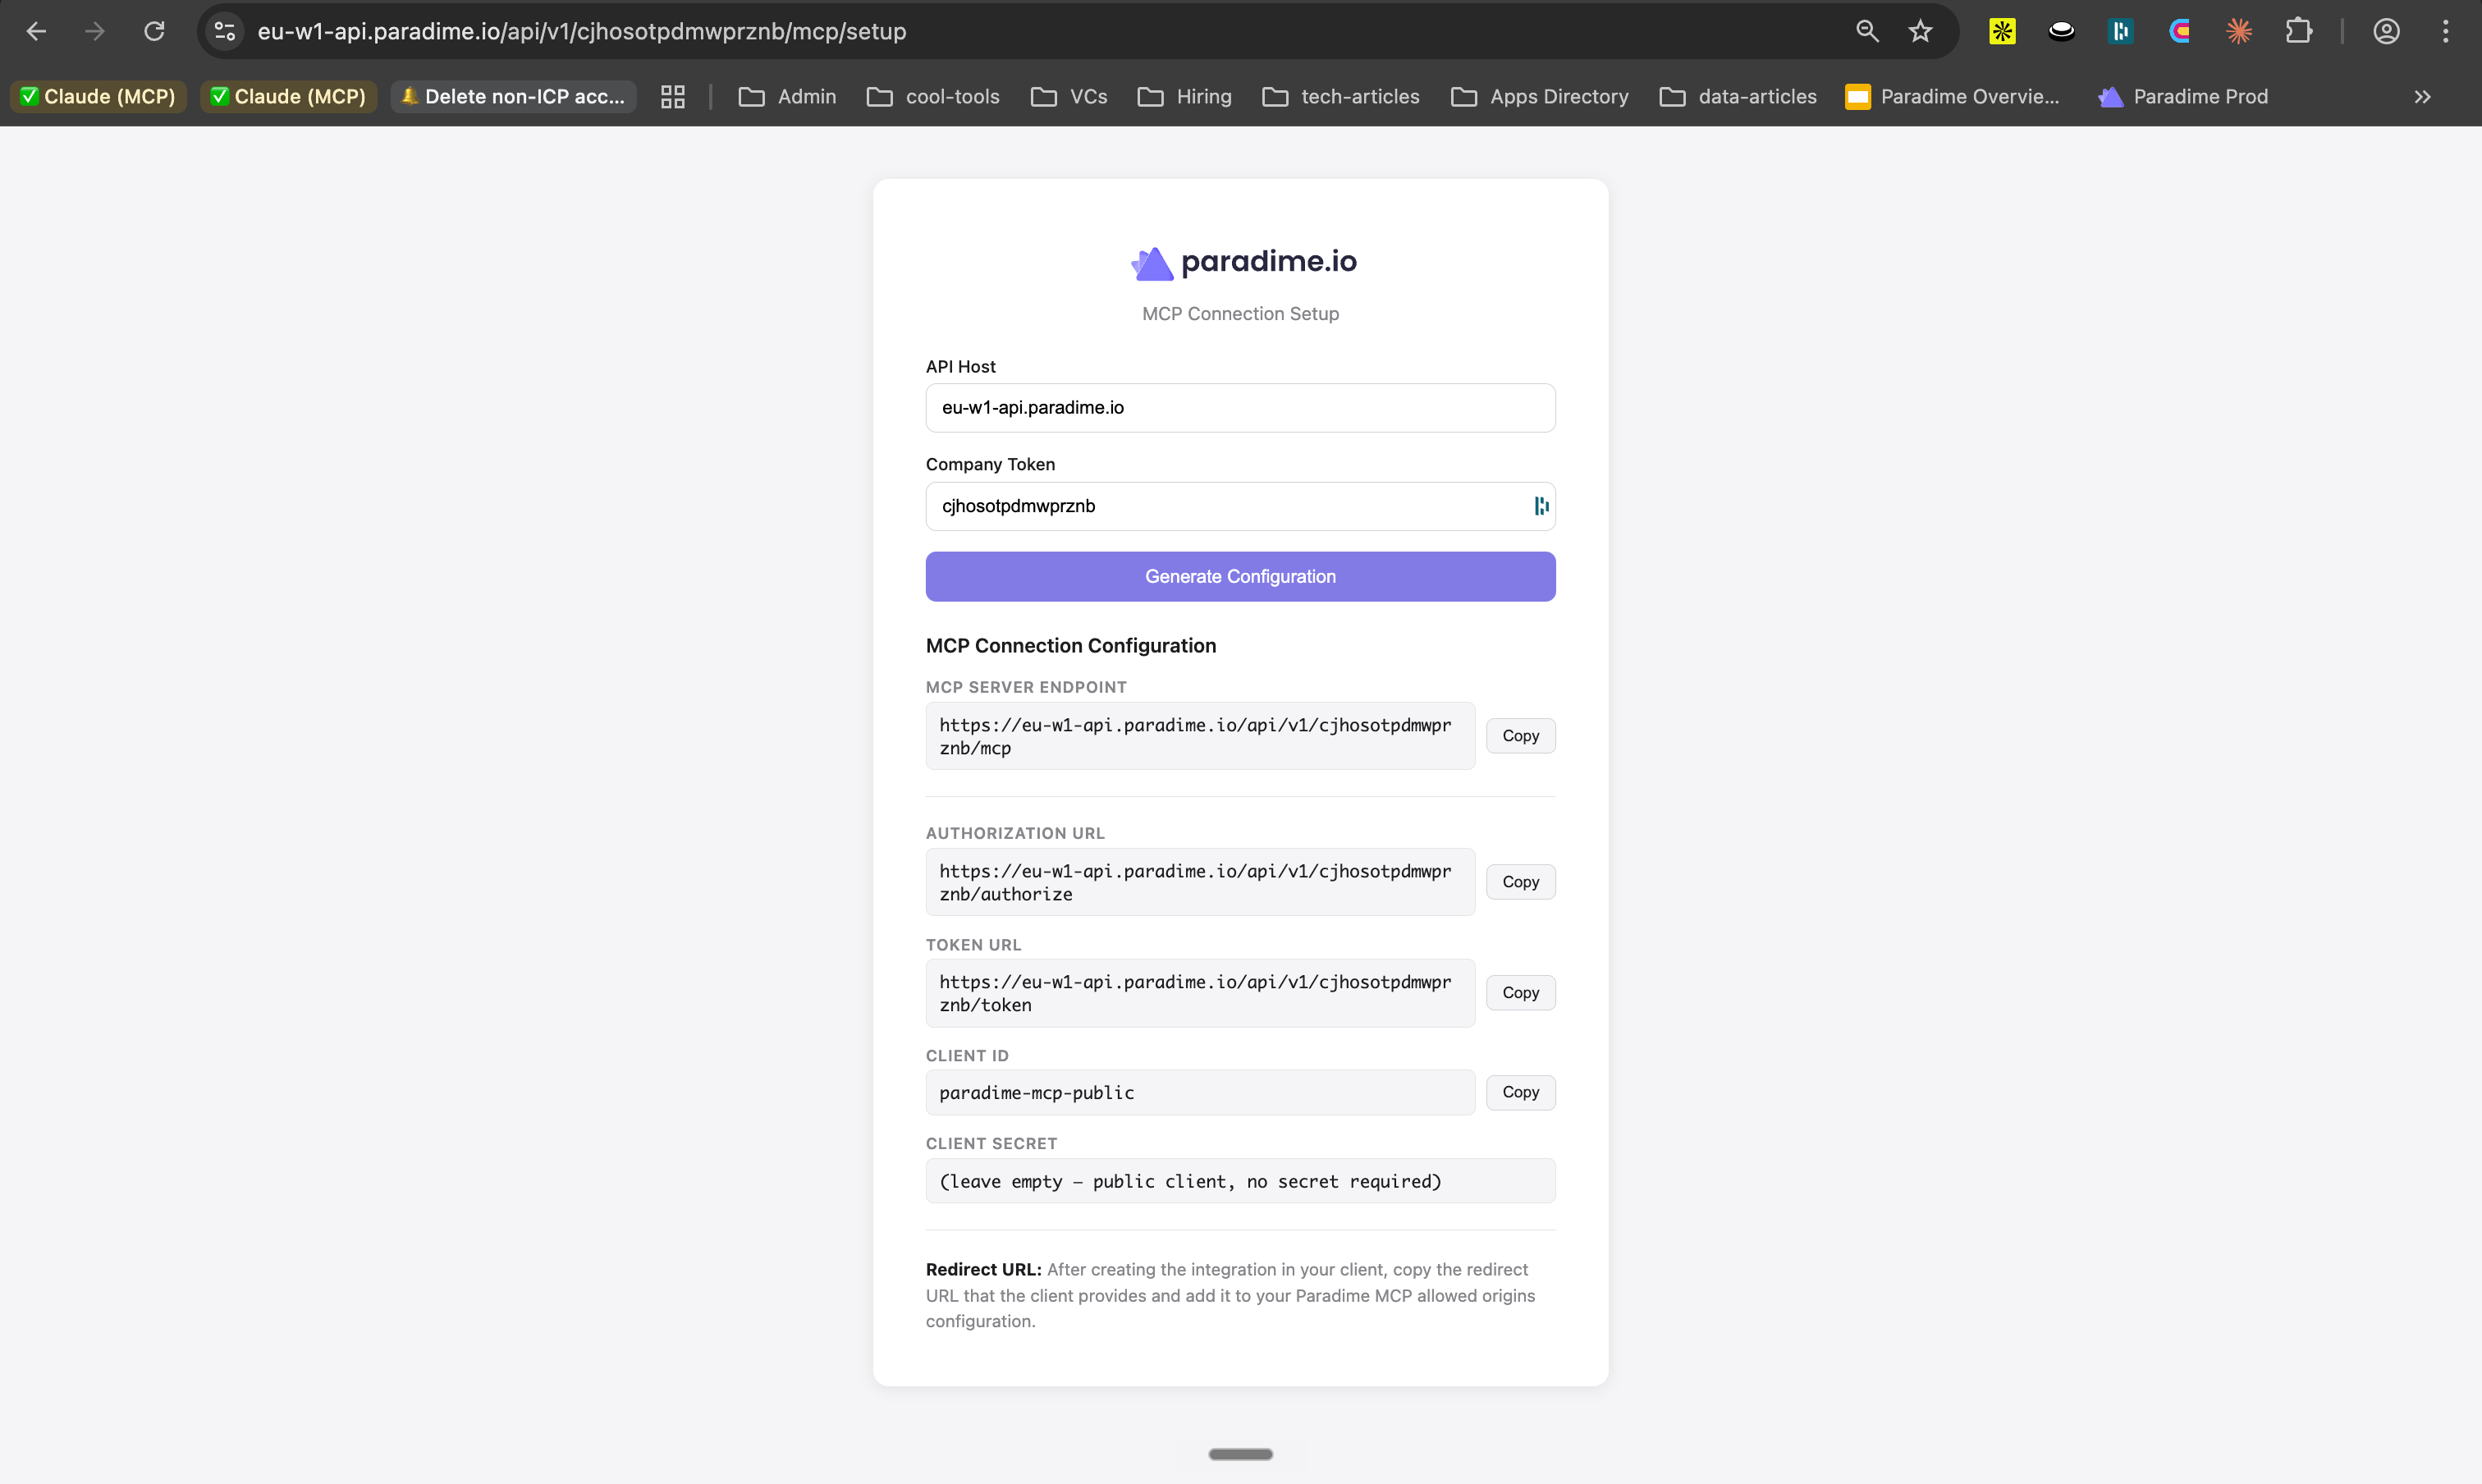
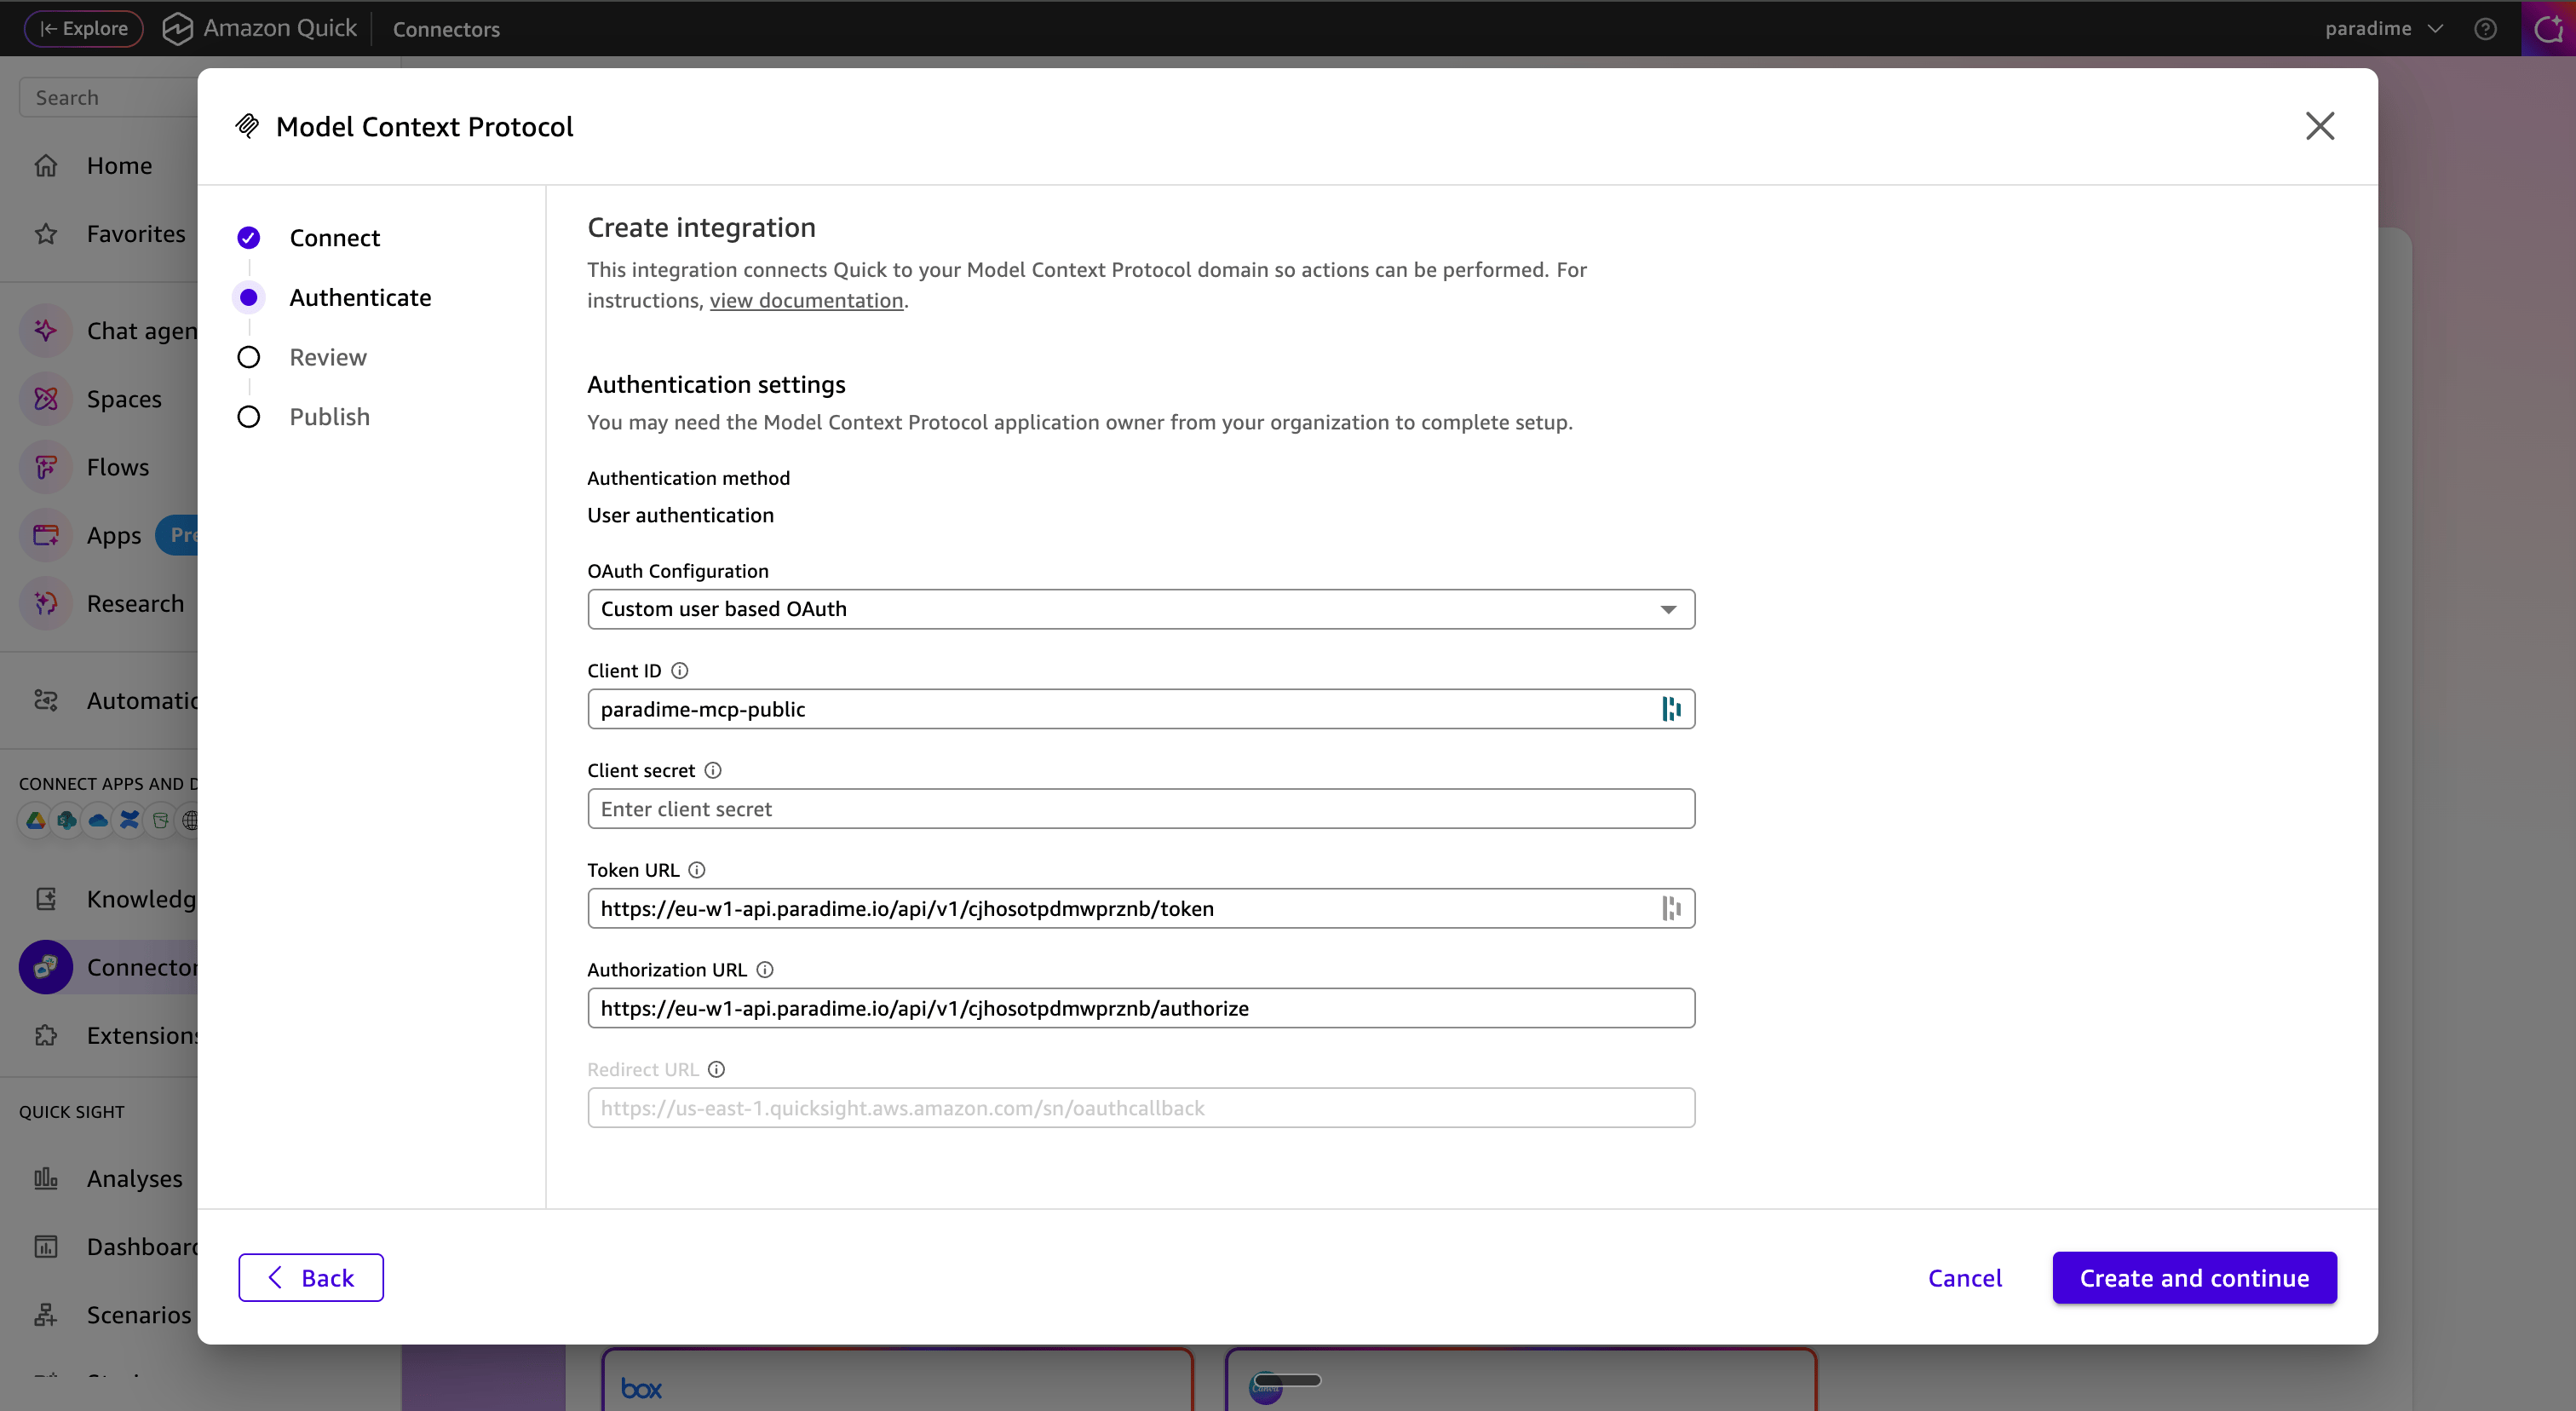
- OAuth Configuration - choose “Custom user based OAuth”
- Client ID - enter
paradime-mcp-public - Client Secret - leave it empty
- Token Url - copy the token url from the generated configuration
- Authorization Url - copy the authorization url from the generated configuration
Step 6 - Authenticate MCP with Paradime
You will be redirected to the MCP authorization page on Paradime. Enter your organization name, sign in as your Paradime user, and approve the connection; the setup then completes.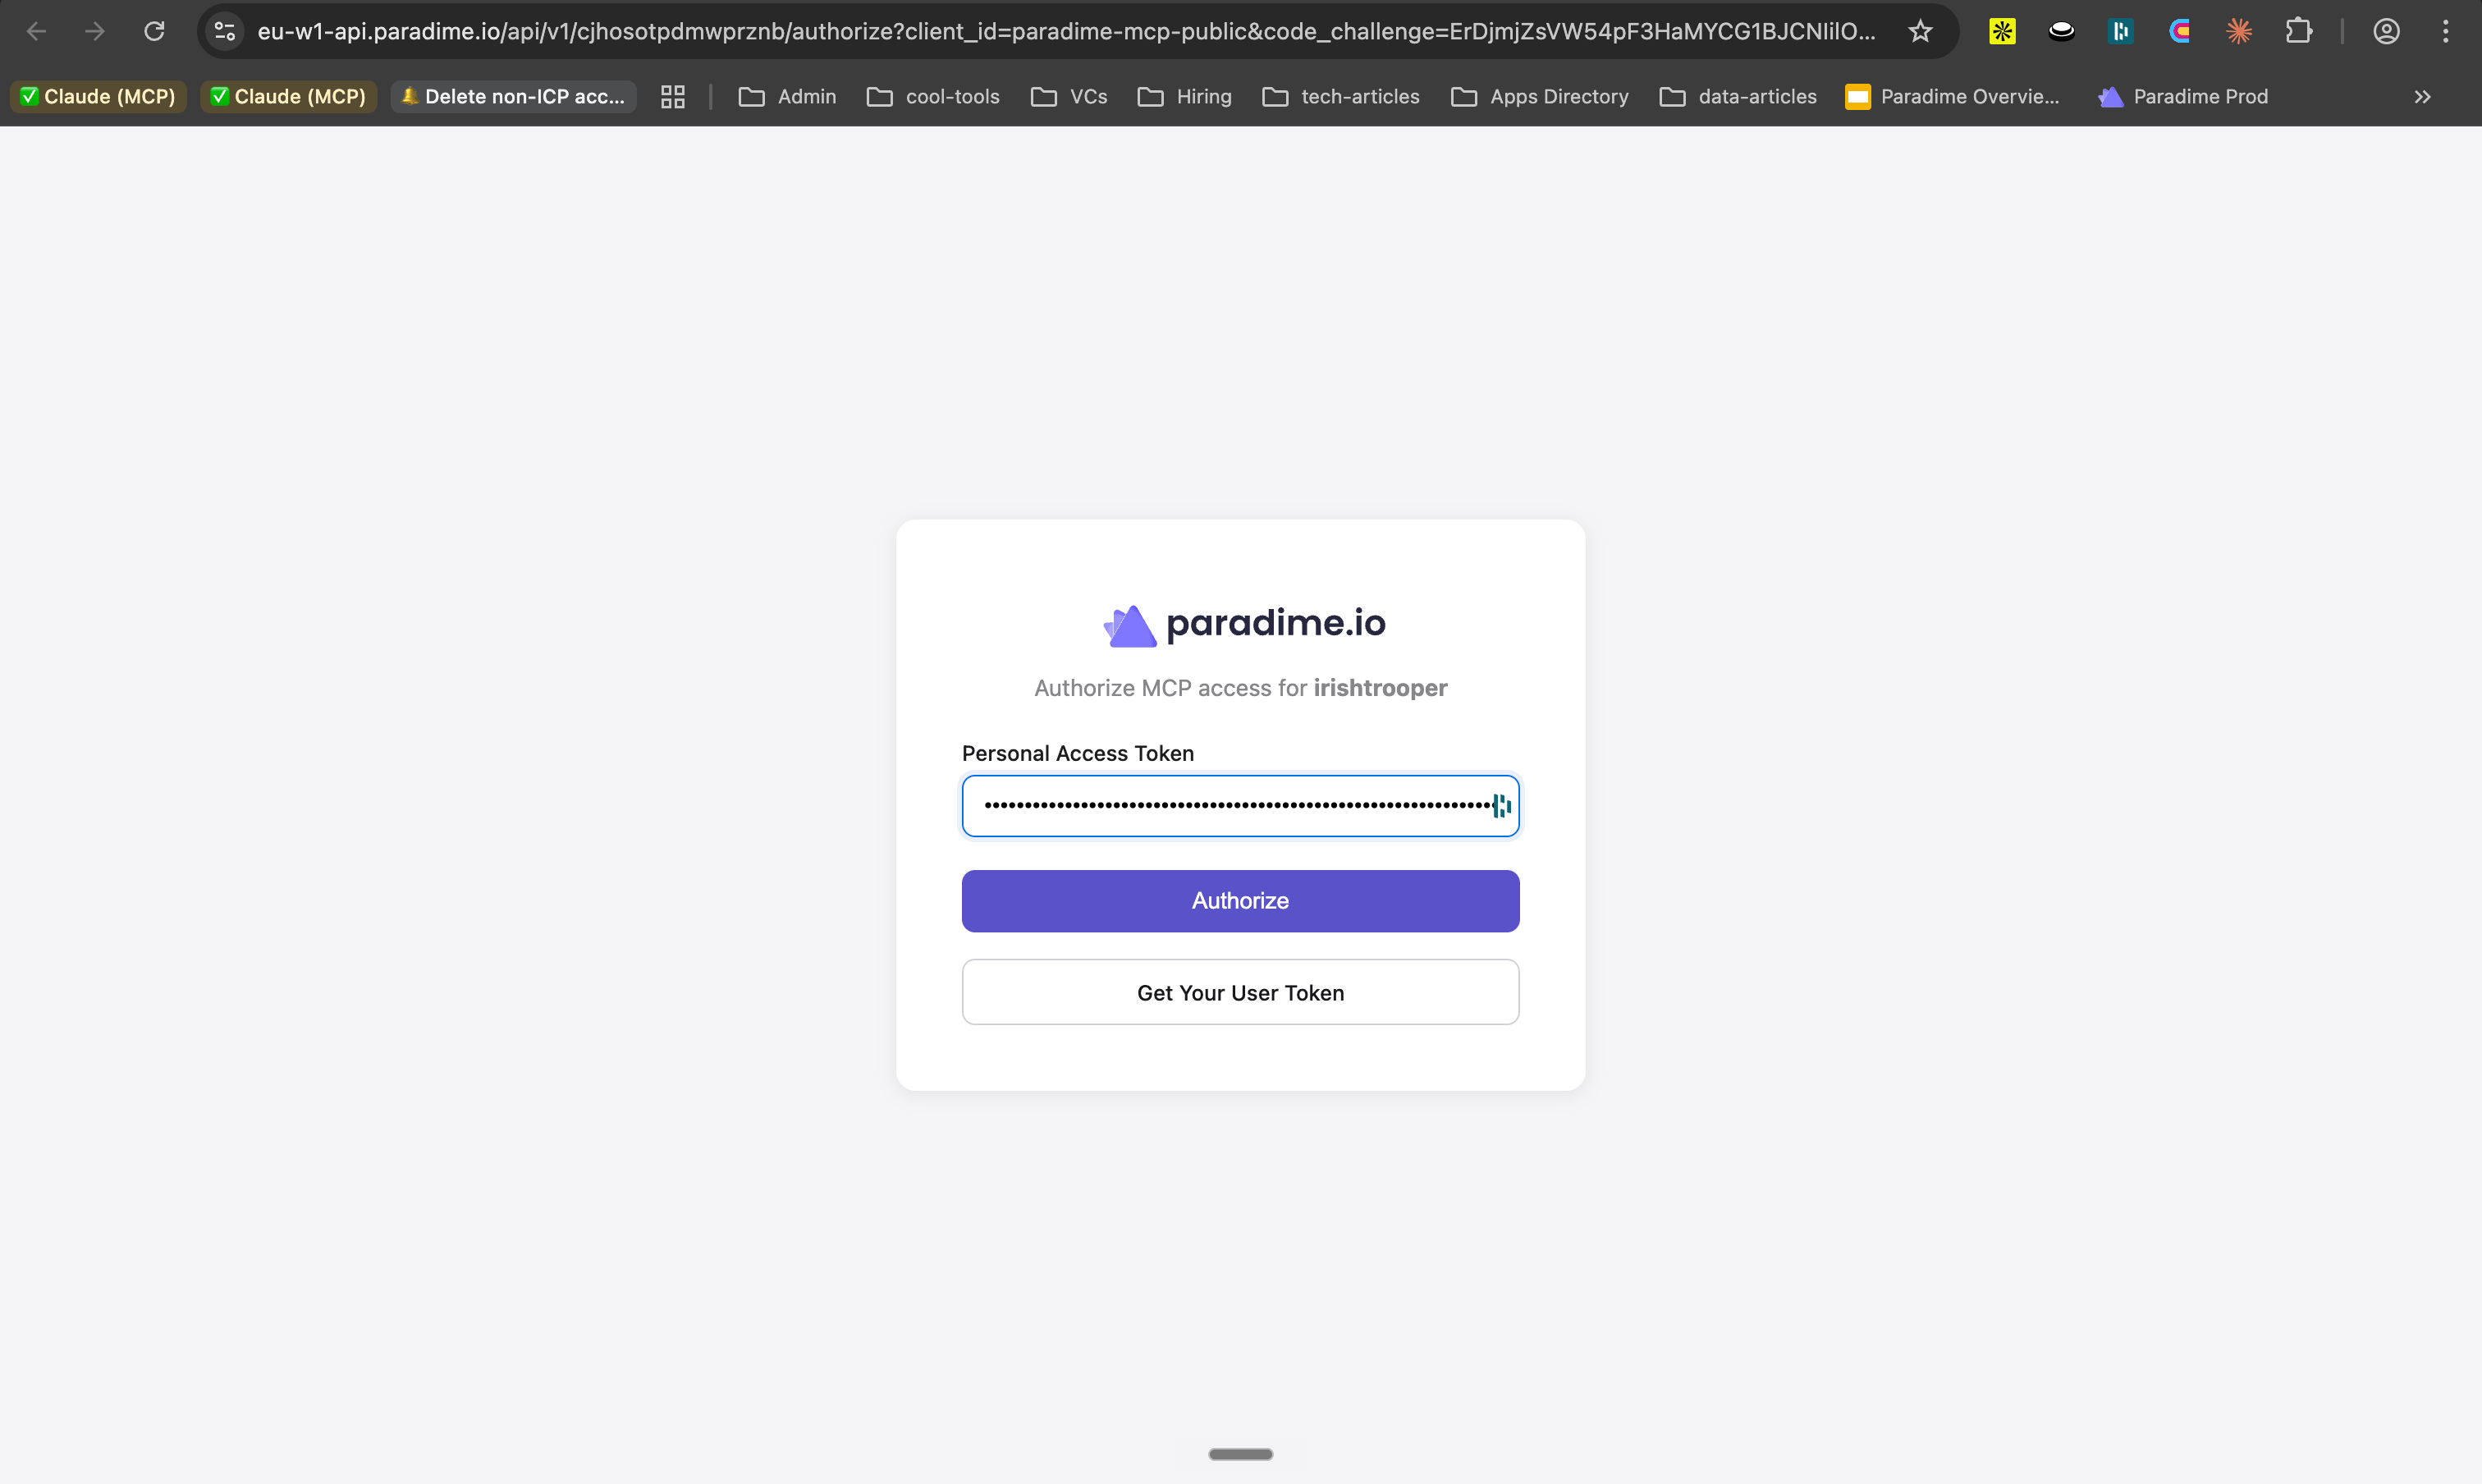
Step 7 - Connection Complete
If Step 6 was successful, you will be redirected back to Amazon Quick and you will see the following screen and click Next to finish.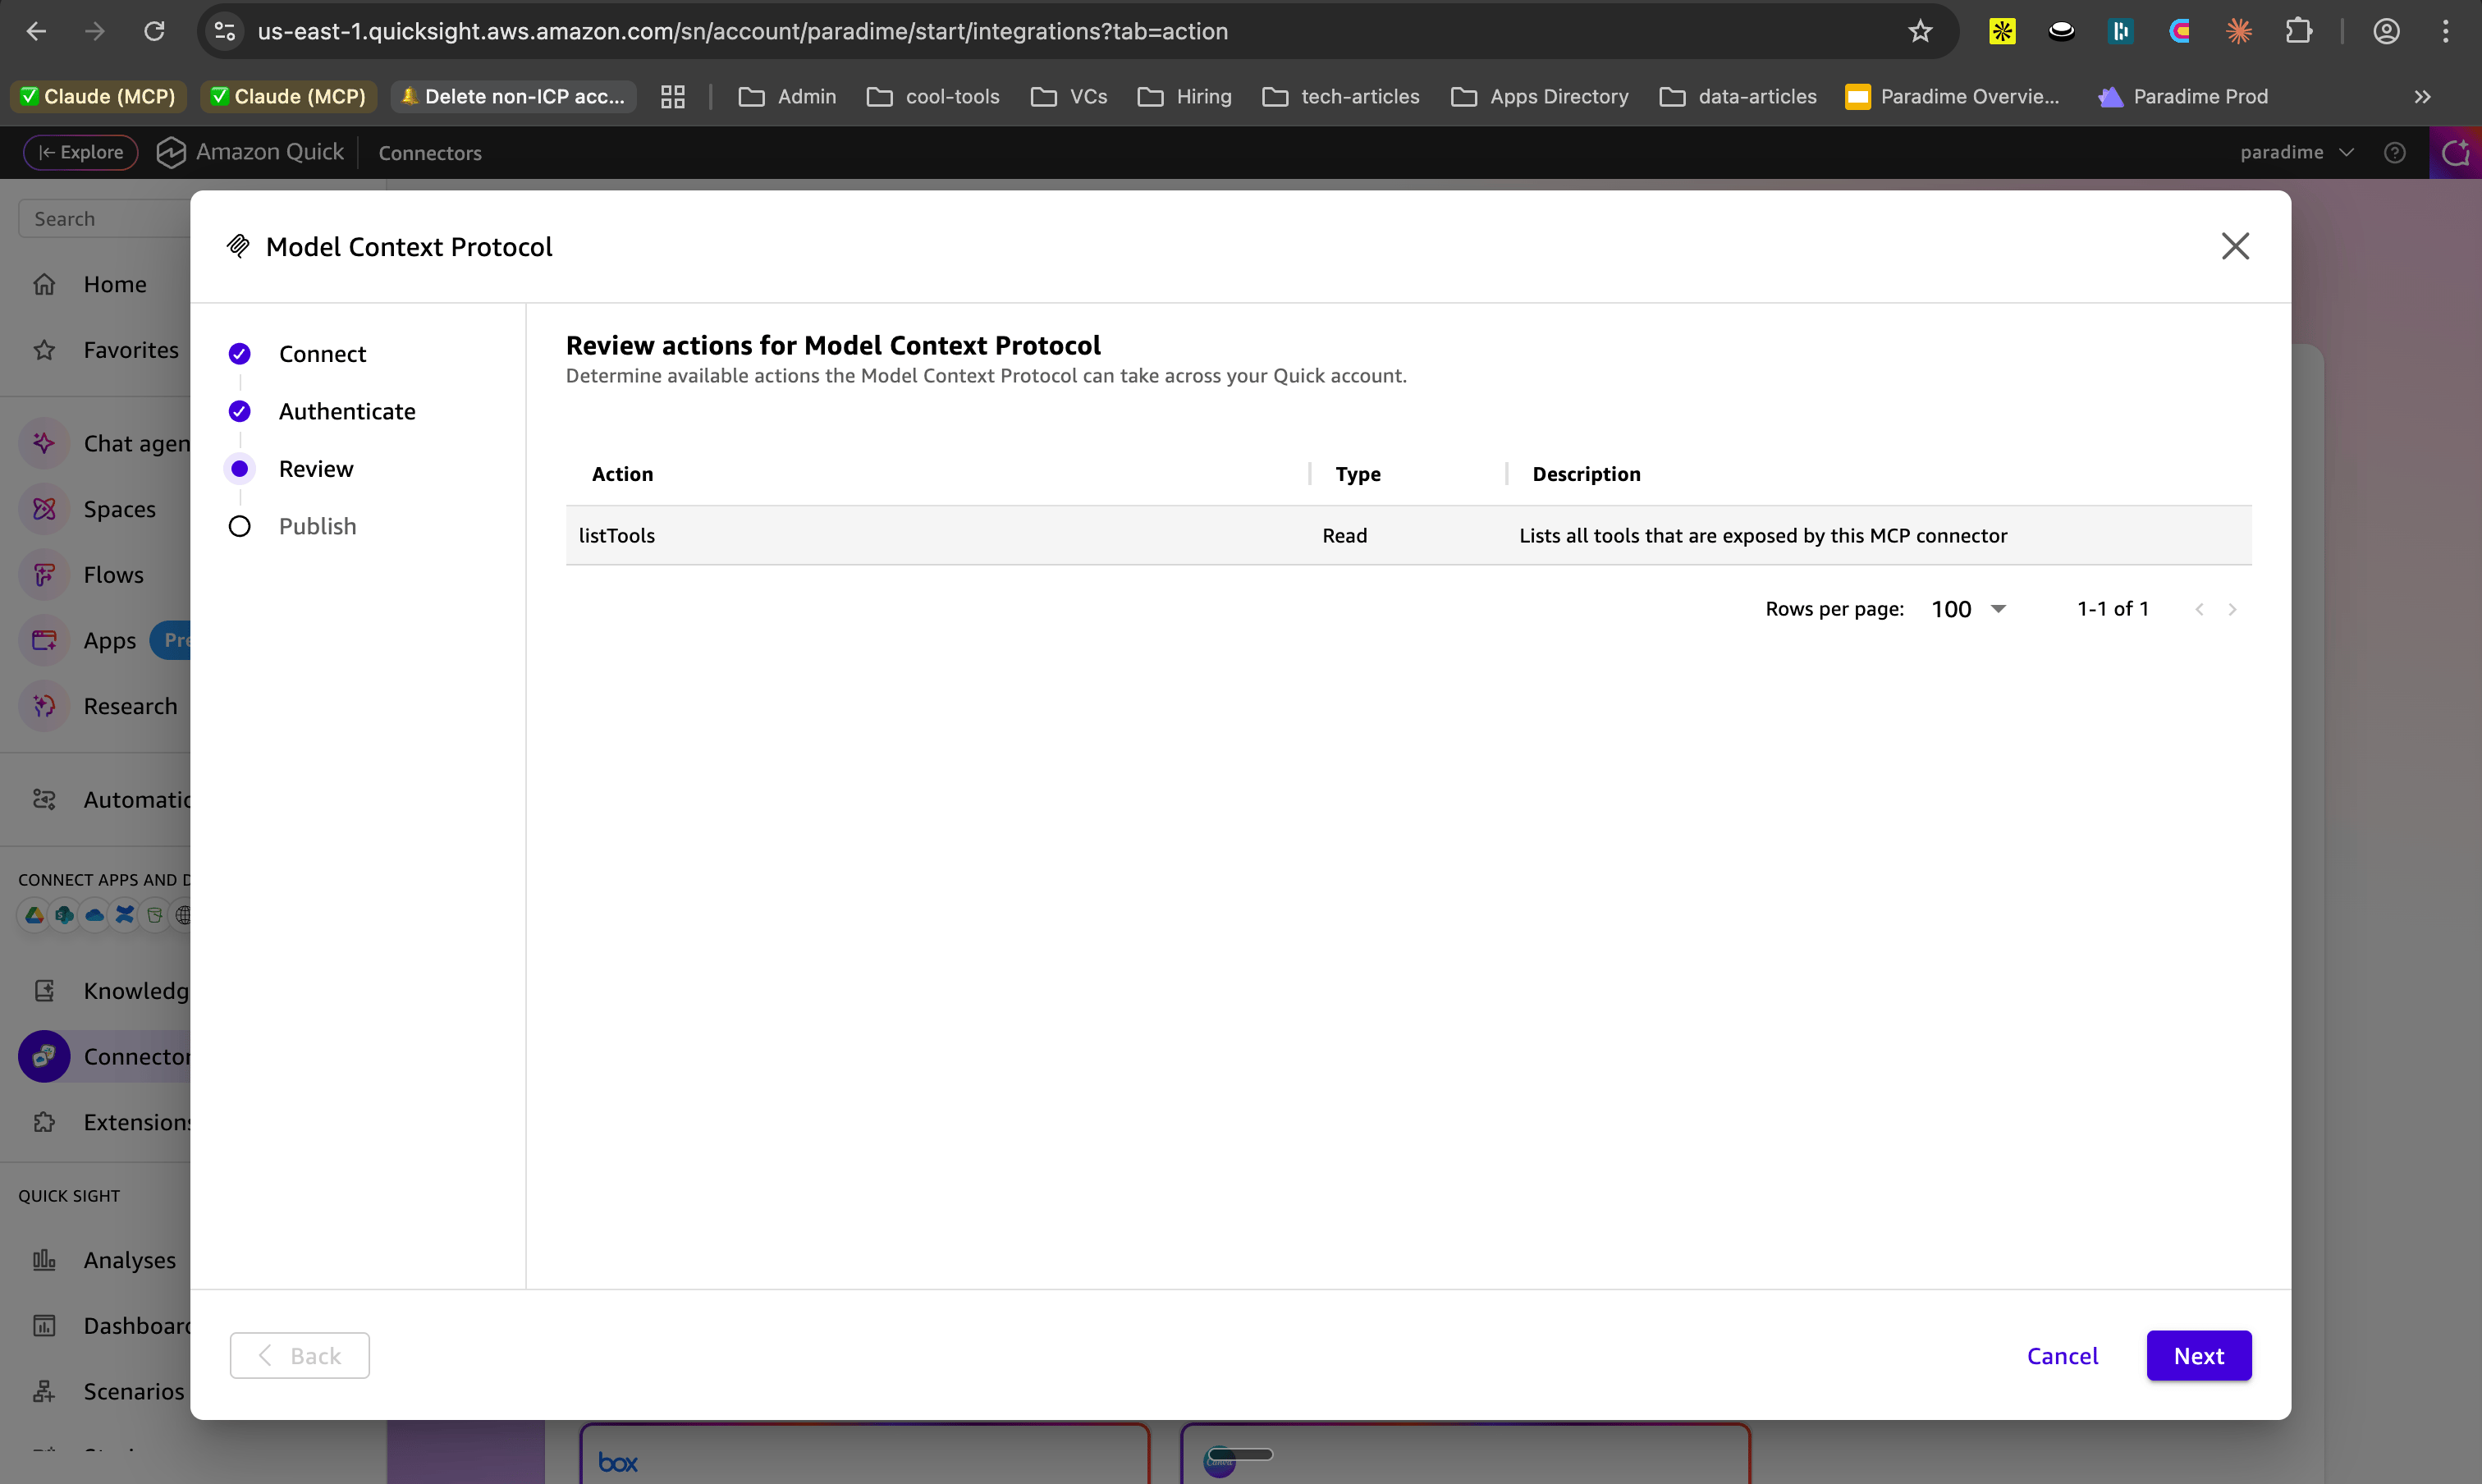
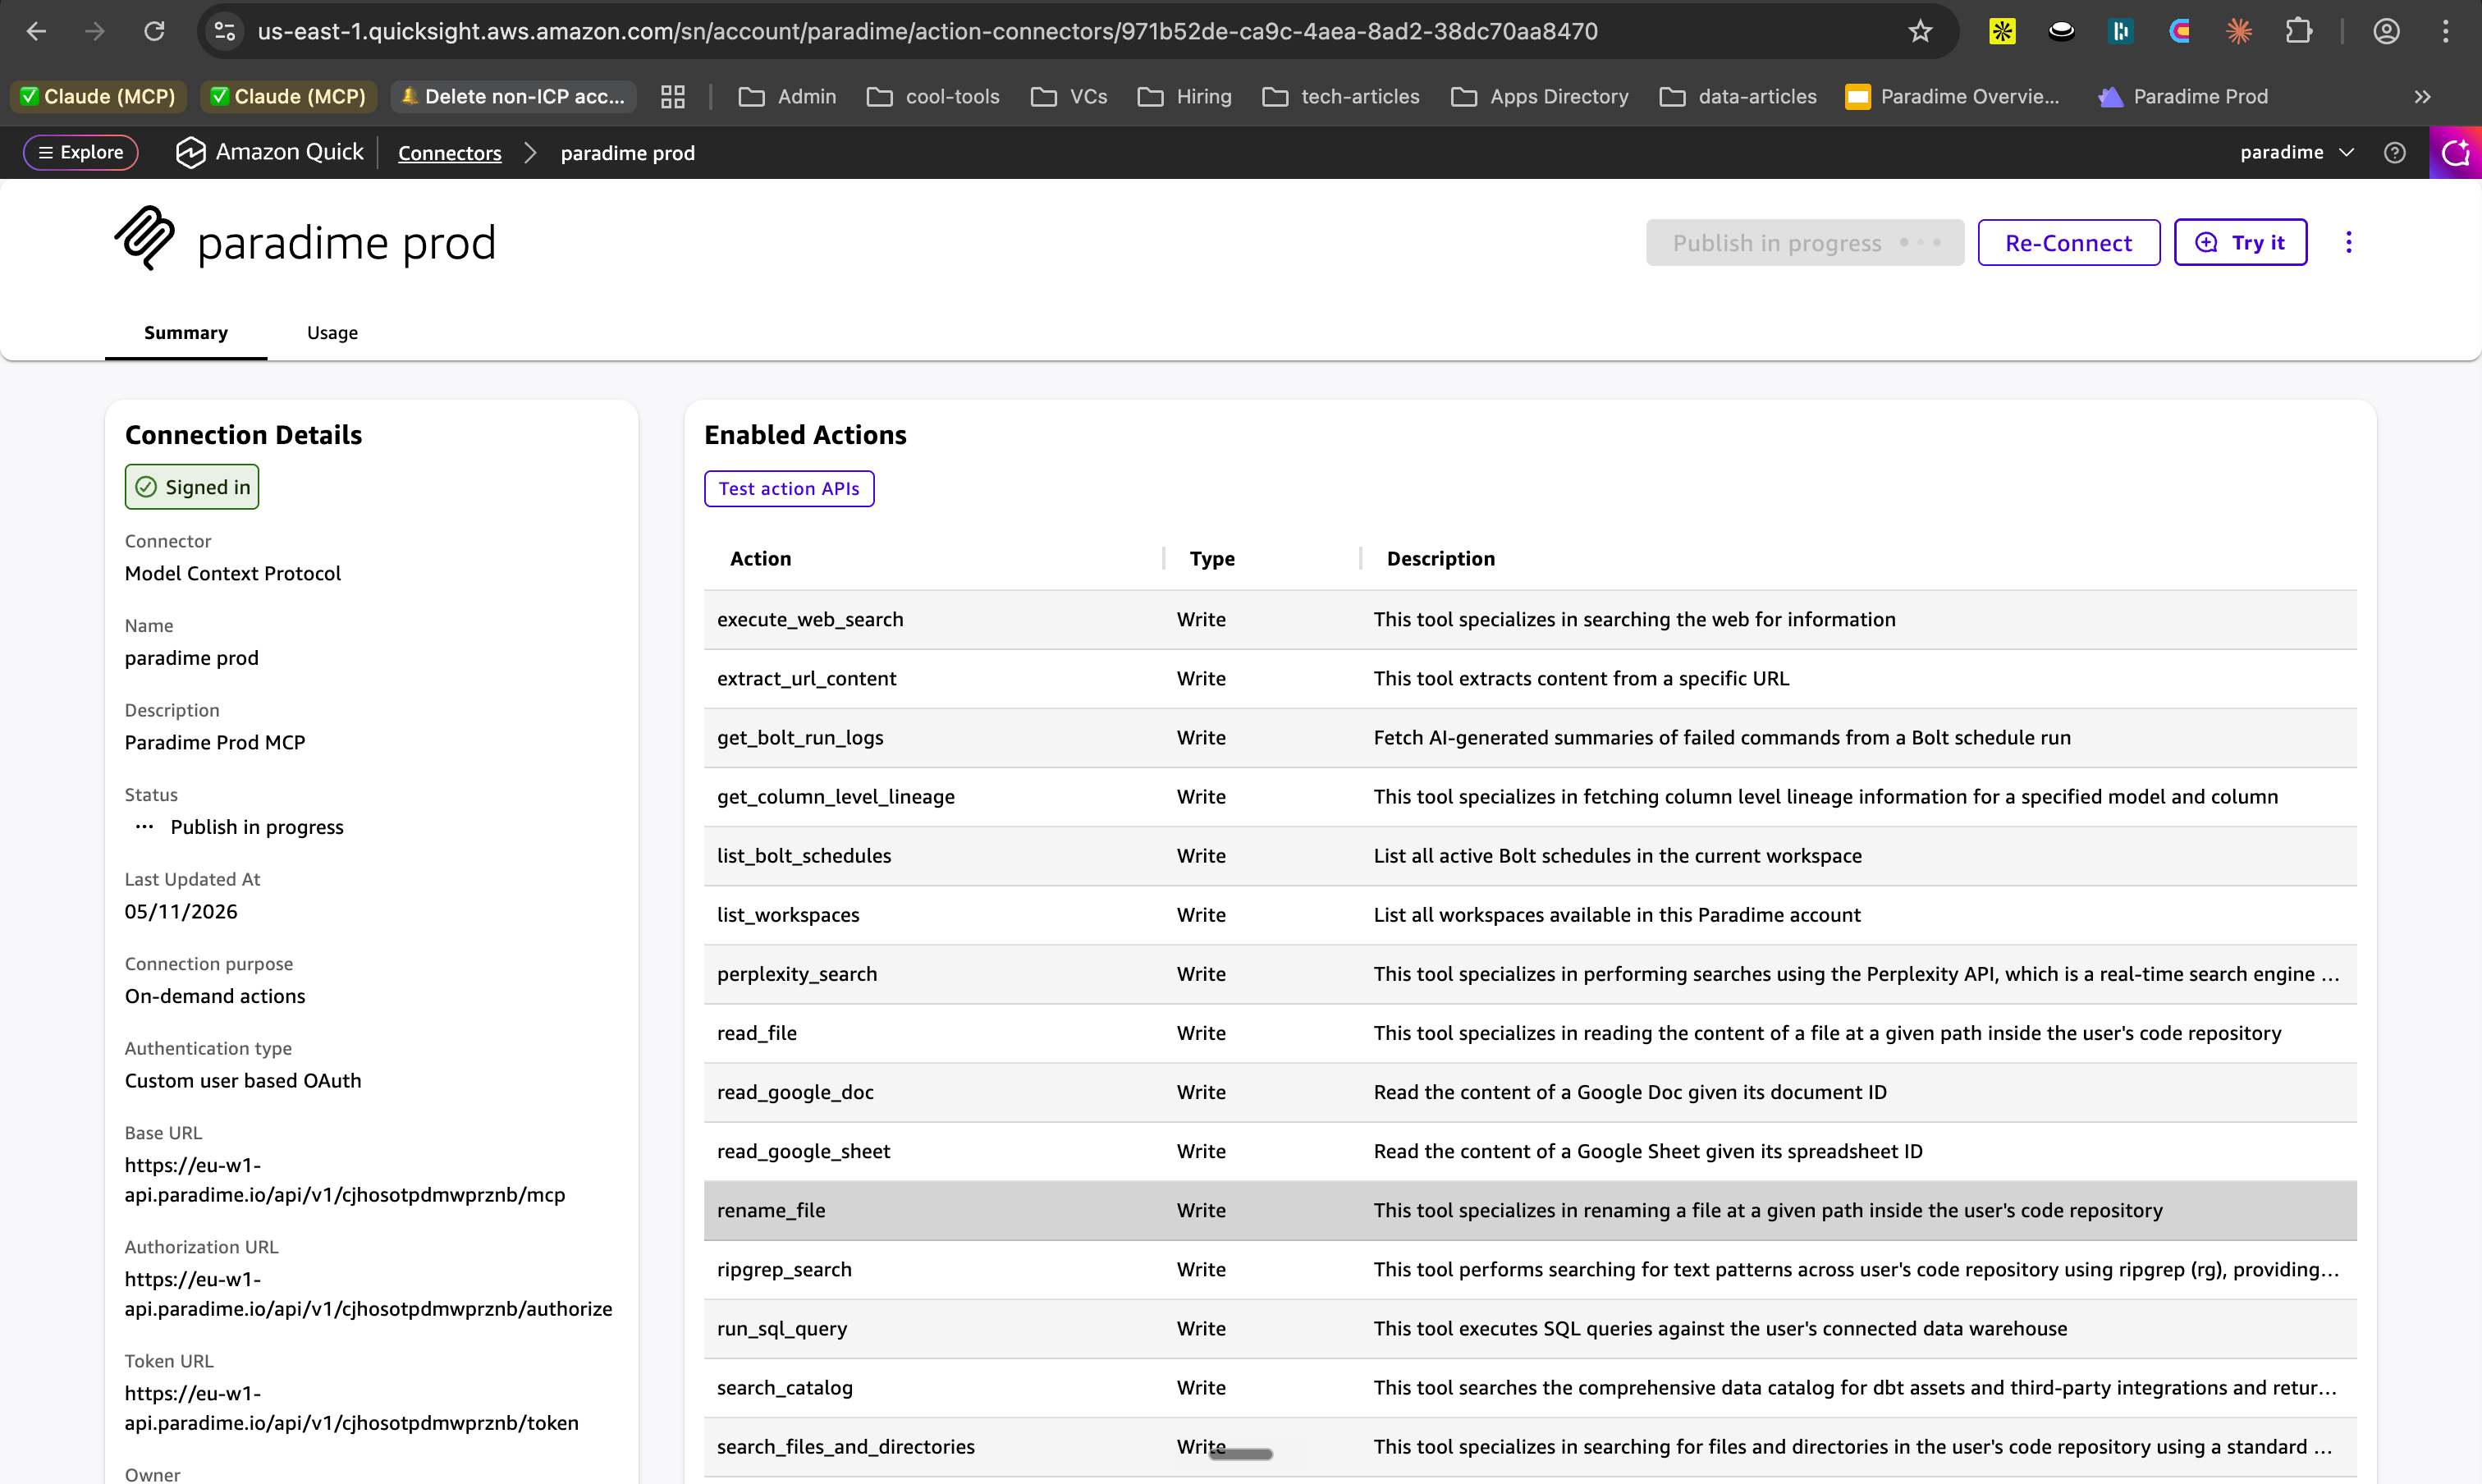
Step 8 - Verify MCP Tools
Once everything is done, you can go to Connectors > Search “paradime”, and you should see the Paradime MCP connector. Click on it and you will find all the tools available for the MCP.